
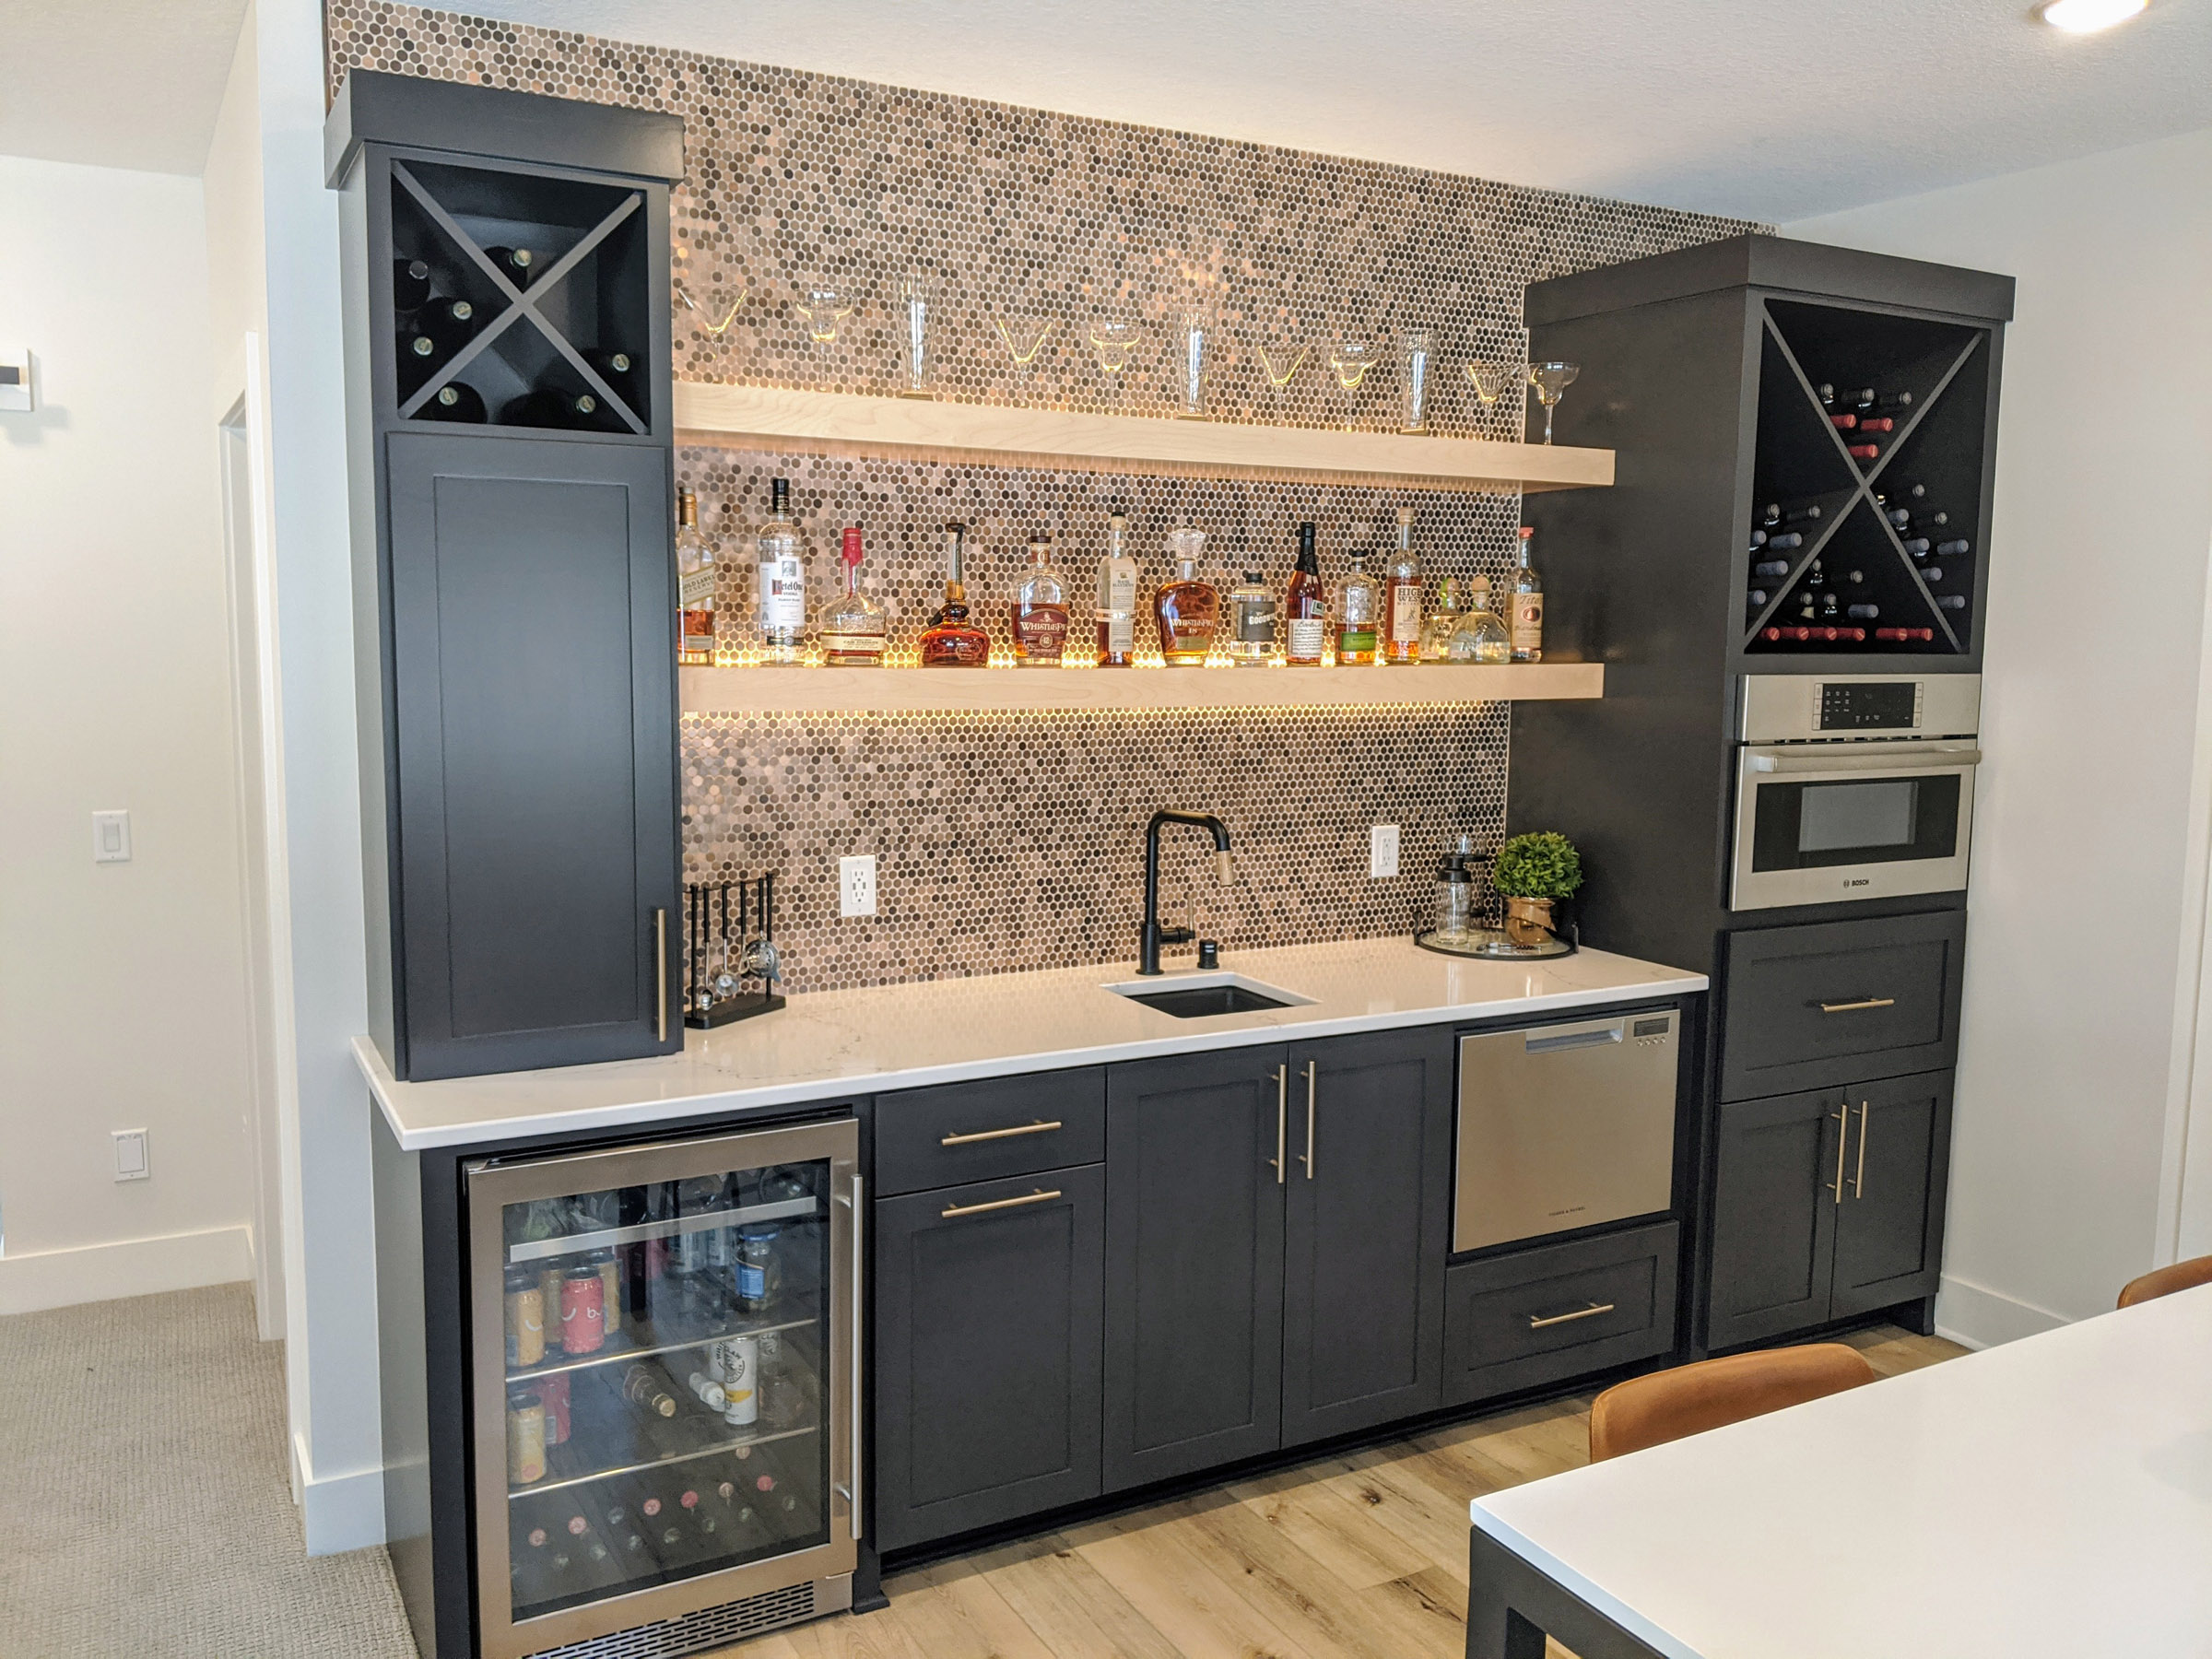

Key Takeaways
- Inventory appliance and device power requirements. Add up the total load to size circuits and service capacity. Leave a margin for future upgrades.
- Designate dedicated circuits and identify them explicitly. Locate GFCI protection adjacent to sinks and AFCI protection in living spaces to complement safety and code compliance.
- Locate countertop and undercabinet outlets every 1.2 meters. Don’t locate outlets directly behind wet zones, but add pop-up or undercounter outlets for flexibility.
- Plan routes and rough-in before drywall or cabinetry. Keep cables clear of plumbing. Document runs and circuits for inspections and later work.
- Choose and field-trial protective devices post-installation. Include GFCI and AFCI breakers or receptacles where necessary. Tag protected circuits at the panel to facilitate rapid identification.
- Plan layered lighting with independent task, ambient, and accent circuits. Include dimmer or smart controls. Arrange switch locations for easy access and efficiency.
Basement wet bar electrical planning – Here’s how to set safe, code-compliant power for sinks, refrigerators, lighting, and small appliances. It describes load calculation, dedicated circuits, GFCI protection, wiring routes, outlet placement, and switch control. Ventilation and room for under-counter fridges and dishwashers are also important. Planning early with a licensed electrician and some local code review can save expensive revisions later and keep the bar functional and safe.
Assess Power Needs
Power needs help determine what the wet bar will draw, where power has to be placed and if your current service can handle the load. Begin by cataloging all appliances, lights and devices. Then proceed to load estimation, circuit assignment and expansion for future growth. Add in lighting zones and specialty elements like home theater or under-cabinet lighting so the design encompasses the entire finished basement, not just the bar.
Appliance Demands
List every appliance and its watt or amp rating. High-draw appliances like undercounter refrigerators, ice makers, microwaves, and compact dishwashers generally require their own circuit. Small appliances like coffee makers or blenders pull high current when used at the same time. Verify power requirements. Check manufacturer data plates for volts and amps and validate outlet type. Some microwaves or combination ovens need 20 A or 30 A circuits and specific receptacles.
Zone devices into wet and dry areas. Wet zone appliances, such as sink disposal, instant hot, and ice maker, have to be close to GFCI‑protected outlets and arranged so that cords do not run over water paths. Dry zone appliances, including wine coolers, display lighting, and shelving outlets, can be on common circuits if load calculations allow. Install outlets for under‑cabinet lighting and small appliances within reach but not near water.
Plan dedicated circuits for at least these high-draw items: refrigerator, wine cooler, ice maker, microwave, disposal, and possibly a dishwasher. Verify outlet location considering appliance footprint and door swing. Utilize the NEC as a starting point for GFCI protection near the sink and for AFCI where applicable.
Bullet list: Appliances and devices requiring electrical service
- Undercounter refrigerator
- Wine cooler
- Ice maker
- Microwave or microwave drawer
- Dishwasher or compact dishwasher
- Garbage disposal
- Instant hot water dispenser
- Under‑cabinet and accent lighting
- Countertop appliances (coffee maker, blender)
- Outlet strips for temporary use and charging
- Venting fans and exhaust (if present)
- Smart devices, speakers, and home‑theater components
Service Capacity
Determine Your Power Requirements First, add up all appliance ratings, lighting loads and general receptacles to estimate your total electrical load. Convert watts to amps at your system voltage for accurate totals. That finished basement generally requires several lighting circuits. Design them in zones so that not all of the fixtures are associated with a single switch. Confirm your main panel has available capacity and space for extra breakers.
If numerous dedicated circuits are required, think about incorporating a subpanel near the wet bar to minimize runs and group bar circuits. A subpanel facilitates future expansion and separates basement loads from the rest of the house. If total calculated demand nears service limits, design a service upgrade in cooperation with a licensed electrician. Make sure all planning adheres to the most up-to-date NEC standards for GFCI, AFCI, and circuit sizing.
Plan System Layout
A good plan keeps the bar secure, functional and relatively easy to construct. Begin with a sketch indicating bar counter, cabinetry, seating, appliance placement and clearances. Plan the system layout with a minimum of six linear feet of counter, a 42-inch bar height, an 18 to 24-inch overhang for stools, and at least a 36-inch clearance behind stools so people can get by. Take note of ceiling height; 7.5 feet is the minimum for comfort and indicate where the panel is in relation to the bar because a panel in a utility room 10 feet away from the bar is less expensive to wire than one on the other side of the house. Rough in three elements together for the permit: GFCI receptacles near the sink, the undercabinet lighting circuit, and the mini-fridge dedicated outlet.
1. Map Dedicated Circuits
Designate separate circuits for the fridge, undercounter ice maker or wine cooler, and built-in microwave or oven. Identify each circuit’s function on the plan so that installers know which breaker supplies what. Use a simple table to track connections: outlet A leads to mini-fridge with a 15 A dedicated circuit, outlet B leads to undercabinet lights with a 15 A circuit, and outlet C leads to countertop receptacles with a 20 A circuit. Plan for AFCI where the bar opens to living spaces and GFCI protection if fixtures are within 6 feet of the sink. Remember that any fixture inside that radius subjects upstream wiring to GFCI rules. Provide spare capacity in the panel for expansion.
2. Position Counter Outlets
Locate outlets every 0.9 m (4 ft) along the counter to satisfy spacing regulations. On a 3 m (10 ft) bar, this implies a minimum of 3 sockets. Mount them above the backsplash for accessibility and code compliance, not behind sinks or in direct wet areas. Consider pop-up or undercounter outlets near seating for laptops or mixers to keep the top clean. Indicate outlet types and heights on the sketch so the countertop layout corresponds to cabinetry and appliance cutouts.
3. Isolate Moisture Zones
Isolate the sink and nearby outlets on GFCI circuits and label those on the plan. Utilize waterproof boxes and in-use covers in areas where spray or spills are probable. Identify moisture resistant cable and connectors close to plumbing runs. Be careful to plan a clear drawing separation between wet and dry areas to keep cabinets and switchgear protected.
4. Route Rough Wiring
Plan system layout Run wiring through studs before drywall and cabinets go in along planned paths up and down walls and behind cabinets. Avoid cabling near plumbing and insulation, and staple and protect at penetrations. Flag all runs and box locations for inspection and future work.
5. Plan Future Expansions
Leave spare breakers and put in conduit or empty boxes in strategic locations for future add-ons. Create wire paths and circuit labels for later upgrades and smart integration.
Install Circuit Protection
Nothing is more central to a safe basement wet bar than circuit protection. Select and position protective devices according to bar configuration, number of outlets and how plumbing and seating introduces wet or living areas. For example, the 2023 and 2026 NEC codes changed scope and voltage coverage for GFCI and AFCI, so plan to comply with the latest requirements and check local amendments prior to purchasing breakers or devices.
Ground Fault Protection
Place GFCI outlets within 6 feet of any sink, drain, or wet bar plumbing. For an 8 to 10 foot counter, all of those counter-level receptacles will usually end up within that 6 foot zone, so anticipate several GFCI protected points of use. Install circuit protection. The NEC now requires GFCI coverage for 125 V through 250 V receptacles in these areas, so include protection for any small appliances, microwaves, or built-in wine coolers that share the counter space.
Install circuit protection — such as GFCI breakers — when one feed powers multiple outlets in the wet zone. A breaker at the panel saves changing every faceplate. Downstream receptacles protect. Combination AFCI/GFCI breakers deliver both functions in a single device and help streamline panel layout, especially in cramped panels or where AFCI coverage overlaps wet areas per revised code.
Verify that all GFCIs trip and reset properly prior to closing up walls. Test during rough-in with a plug-in tester and again at finish. Change standard outlets to GFCIs in finished basement bar areas to conform with updated code and reduce the hazard of electrical shock.
Arc Fault Protection
Protect living spaces and finished basement areas with AFCI breakers when code necessitates. Wet bars often reside within finished living space, thus AFCI protection at the panel is often required to mitigate fire risk from wiring arcs. Safeguard bar seating and nearby rooms to account for potential loads such as task lighting, TVs, or under-counter refrigeration.
Love both AFCI and GFCI protection when circuits feed both wet and living zones. A combination breaker at the panel can meet both needs while preventing the headache of mixed devices downstream. Wet bar circuits need AFCI breakers at the panel and GFCI protection at the point of use near the sink according to NEC recommendations.
Steps for testing protective devices after installation:
- Trip every GFCI at the point of use and verify power interruption. Reset and verify load returns.
- Employ an AFCI tester or breaker built-in test function to validate arc detection functionality.
- Testing combo breakers trip for both ground and arc using manufacturer test procedures.
- Identify each circuit and test status on a checklist before wall covering or trim finishing.
Mark protected circuits at the panel for easy identification. Easy-to-read labels pay off because they save time when troubleshooting or during future upgrades and encourage tradespeople to honor the mixed protection approach you implemented.
Layer Lighting Controls
Layer lighting controls orchestrate individual circuits and control types so the bar functions for task, mood and display. Separate task, accent, and ambient lighting into different circuits to enable selective use and energy savings. Layer 3: Lighting Controls Line-voltage fixtures (120 V direct-wire) can ride on the general lighting circuit for wash effects. Low-voltage with a driver or transformer are ideal for linear strips, puck lights and accent runs. Think about which fixtures require dimmable drivers or smart dimming modules as you plan circuit loads and breaker sizing.
Task Illumination
Layer Lighting Controls
Install undercabinet LED strips or puck lights for countertop work areas to provide direct, near-surface illumination for mixing and prep. Deploy recessed fixtures pointed at the sink and prep areas so that light falls directly downward. These can be on a separate task circuit or controlled by a separate dimmer.
Use bright, neutral white bulbs (roughly 3500 to 4000 K) to maintain color rendering for cocktails and garnishes. Position lights to prevent shadows of the hand and tool passing over the work area by placing undercabinet strips near the cabinet edge and shifting recessed cans slightly ahead of the work plane.
Design wiring runs so task lighting is separate from overhead ambient fixtures. It is more energy efficient because you can run just the task circuit when making drinks rather than lighting the entire area.
Ambient Accents
Add pendants or wall sconces to create ambient lighting and design. These frequently reside on the line-voltage general lighting circuit but are enhanced by dimmer control to alter mood. Dim for movie nights or turn them up for entertaining. Dimming not only saves energy but prolongs lamp life.
Layer lighting controls, such as narrow-beam accent fixtures or LED tape, highlight architectural features like shelving, columns, or backsplash. Accent runs are often low-voltage and require a transformer. Group those circuits logically so one driver can service a group of runs. Coordinate fixture finishes and color temperature with your cabinetry and countertops so the entire look is cohesive.
Smart Controls
Add smart switches or Wi-Fi dimmers to control layers remotely. These devices enable programmable scenes for entertaining, cleaning, or quiet evenings. Scenes allow you to activate task lights and program low ambient and accent levels with one tap.
Connect lighting to home automation or voice assistants to link lighting with audio, media, or HVAC for a seamless experience. For example, during normal bar hours, schedule lighting to save energy while keeping security lighting on. Note that intricate installations might require an electrician, particularly in cases involving low-voltage drivers, multiple circuits, or integration of systems.
Coordinate Trade Rough-Ins
Coordinate trade rough-ins so every trade can work without reworking work down the line. Start by confirming the sequencing: plumbing first, electrical rough-in second, then drywall or cabinet fitting. Plumbing trades rough-ins determine fixture locations and pipe runs that impact where outlets, switches, and fixtures can be placed. If electrical precedes plumbing, pipes can cause conduit reroutes or even cut into fresh work. Try to have plumbing lines placed and tested, after which the locations should be marked on wall and ceiling framing before the electrician cuts holes.
Schedule electrical rough-in after plumbing and before drywall or cabinetry installation
Schedule electrical rough-in after plumbing pressure tests are finished and before they put the drywall or cabinets in. That timing allows electricians to run conduit, pull cable and place outlet and box locations unimpeded. It prevents late changes that add expense. On projects with cabinetry, coordinate trade rough-ins by laying down a mock-up or full-size template of the upper and lower cabinets so outlet spacing and wire drops are aligned to finished heights. Coordinate trade rough-ins. For instance, if you’re installing a refrigerator or undercounter beverage fridge, verify the dedicated circuit and outlet box location now so cabinets aren’t hacked up later.
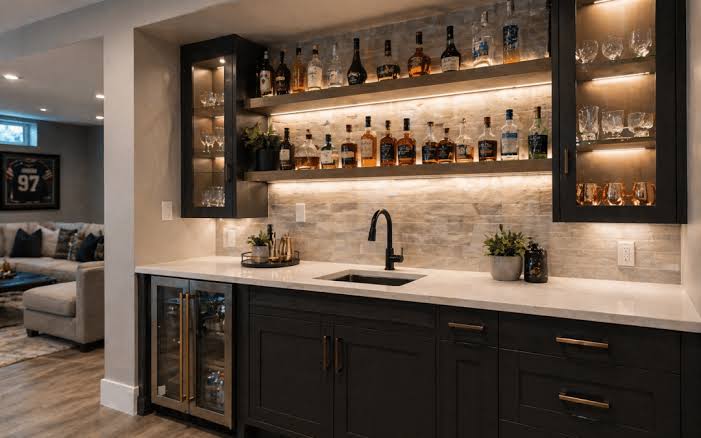
Communicate outlet, switch, and lighting locations clearly to all trades
Provide trades with one marked plan and post on site. List counter receptacle spacing, lighting placement, switch heights, and appliance circuits. Receptacles must be placed so that no point on the countertop is more than 0.6 meters from a receptacle and at intervals of no greater than 1.2 meters. This means outlets every 1.2 meters along the counter. Note any nonstandard needs: bar glasswasher, ice maker, mini-fridge, and under-cabinet lighting. Standard outlet boxes are positioned approximately 30 to 45 centimeters from floor to bottom of box. Double check your local regulations. Here’s how to organize trade rough-ins: Use colored tape or tags to identify boxes for GFCI, 20 A circuits, and dedicated appliance feeds.
Ensure plumbing and electrical lines do not conflict within walls or ceilings
Trace out studs and joists and maintain at least minimal spacing between pipes and electrics. Coordinate Trade Rough-Ins any electrical fixture within 1.8 m of a sink brings the upstream circuit under GFCI protection; label those runs. Don’t run wiring directly behind plumbing runs where a leak could moisten conductors. If room is tight, think about protective metal plates over studs or routing one trade on the flip side of the stud bay.
Confirm all rough-ins meet local building codes and inspection requirements
Confirm circuit amperage, wire gauge, box fill and GFCI rules prior to inspection. Wire gauge must correlate with circuit amperage, and the undersized conductors on that 40 A range circuit are an inspection fail and a fire hazard. Kitchen and bathroom countertop receptacles need to be on 20 A circuits. Coordinate Trade Rough-Ins.
Know that a custom house can have 60+ connections. Plan labeling and as-builts to ease inspection. Your rough-in can appear neat, yet still miss out on box fill, incorrect wire size or skipped GFCI. Verify specifics now.
Decouple Moisture Paths
Basements are prone to consistent moisture from the earth, walls, and air. In areas with robust freeze-thaw cycles, such as Minnesota, the ground freezes, expands, and slingshots moisture through your concrete and block walls for months. That lays down a standing moisture load that needs to be addressed prior to bringing in electrical work for a wet bar.
Install vapor barriers behind wet bar walls to block moisture migration.
Install a continuous vapor barrier on the warm side of exterior foundation walls and behind finished wet bar walls. Use a 0.15 mm (6 mil) polyethylene or higher-performance breather membrane as the substrate requires. Tape seams and seal edges at floor and ceiling with compatible adhesive; no capillary paths exist. When studding in the wall, provide a small gap between the barrier and any finish material so that trapped moisture can dry to the interior or be exhausted via controlled ventilation. In cooler regions where freeze-thaw forces water through walls, a continuous barrier minimizes that inward migration and decreases the likelihood that moisture comes in contact with electrical boxes or wiring.
Elevate electrical outlets and boxes above potential water exposure points.
All electrical boxes should be mounted 150–200 mm above the finished floor in typical basements, and higher where floor drains, sump pumps or known seepage exist. For locations directly adjacent to sinks, beverage refrigerators or ice makers, install outlets on dedicated uprights or on the backsplash wall at standard counter height to keep them above splashes. Use raised or gasketed boxes when lower placement is unavoidable. In flood-prone basements, put outlets on a removable board or higher on the wall and run permanently mounted conduit from the panel only as high as you need. Identify circuits and separate moisture paths so that one leak does not take out several circuits.
Use waterproof materials and sealants around sinks, drains, and bar backsplashes.
Choose tile, engineered stone or sealed solid surfaces for wet bar backsplashes and counter seams. Employ flexible, mildew‑resistant silicone at sink perimeters and around drain penetrations. Sink tailpieces and trap assemblies should be tight and vented to prevent condensation and slow leaks. Select receptacle covers designated for damp locations or install in‑box gaskets behind outlet plates to prevent vapor. Use GFCI protection and moisture‑proof enclosures for under‑sink light and disposal circuits.
Maintain separate chases or cavities for plumbing and electrical to reduce cross-contamination risks.
Try to decouple moisture paths by putting all your plumbing runs and drain lines in a dedicated chase, and route electrical raceways in a parallel, separate cavity with 25–50 mm physical separation where possible. Fire-rated, flexible sealant penetrations between chases maintain air and moisture barriers. About: decouple moisture paths with access panels for pumps and cleanouts but without exposed wiring. Dependable drain venting and pump access are critical since basements are damper and colder than the floors above and a pump failure or clogged vents can send water to electrical components. Design and check these separations early, manage moisture, and prepare the building before trim.
Conclusion
A well thought out electrical plan keeps your basement wet bar both safe and functional. Size the panel and circuits to suit the fridge, ice maker, microwave, disposal, and small appliances. Position GFCI-protected outlets around water and isolate big gear on its own circuit. Mount lights and switches to fit task zones: prep, sink, and mood. Dimmers and layers reduce glare and conserve energy. Line up the plumber and HVAC early so wires and pipes do not clash. Seal any gaps and employ damp-rated fixtures to minimize the moisture hazard.
For a neat, code-compliant result, bring this plan to a licensed electrician and arrange an on-site consultation. Need a checklist or circuit map template to bring to the pro? I can create one.
Frequently Asked Questions
Do I need a dedicated circuit for my basement wet bar?
Yes. Devices such as a refrigerator, microwave, or wine cooler may warrant their own dedicated circuits. Dedicated circuits not only avoid overloads but keep devices humming. Review your local electrical codes for mandated circuit sizes.
How many outlets should I plan for a wet bar?
Arrange outlets every 6 to 8 feet (1.8 to 2.4 meters) along counters and a minimum of two on each counter run. Add dedicated appliance outlets and GFCI protection adjacent to water spigots to adhere to code requirements.
Should I use GFCI or AFCI protection?
Make sure to use GFCI protected outlets near sinks and wet areas. AFCI protection is frequently necessary for general basement circuits. Most new breakers are a combination of GFCI and AFCI for complete protection.
What lighting types work best for a wet bar?
Layer lighting: task (under-cabinet), ambient (ceiling or wall), and accent (shelves or toe-kicks). LED fixtures are energy-efficient, low-heat, and long-lasting. Plan separate circuits and controls for each layer.
How do I protect electricals from moisture?
Remember to maintain outlets and fixtures as damp-location worthy. GFCI devices, sealed boxes, and waterproof covers should be used where splash risk exists. Keep plumbing and electrical runs separate to minimize leaks and condensation.
When should I involve an electrician and other trades?
Then hire a licensed electrician to rough in stages before drywall. Work with plumbers and cabinet installers to coordinate box locations, conduit runs, and appliance clearances. Early coordination minimizes expensive changes.
What breaker sizes are typical for wet bar appliances?
Common sizes are 15 to 20 A for countertop outlets, 20 to 30 A for refrigerators or wine coolers, and 30 to 50 A for built-in ovens. Check appliance nameplate ratings and local code before actually determining breaker sizes.