

Key Takeaways
- Electrical panel replacement generally requires a few hours to a day. Complicated panels or challenging locations may prolong this.
- Good prep, easy access and communication with your electrician contribute to a quick and safe replacement.
- If you’re upgrading to a higher capacity panel or dealing with wiring issues, it will probably take longer than you think. Plan accordingly.
- Permits and inspections are necessary for code compliance and safety. Scheduling these steps early can keep your project from stalling.
- Expect unforeseen problems like covert damage or utility delays, which can mess with your timeline and add to your overall cost.
- Engaging in the planning and decision-making process lets you meet your immediate needs while preparing for future electrical requirements.
That time can vary depending on panel size, rewiring requirements, and obstacles uncovered during work. Our licensed electricians strive to keep downtime short and adhere to the NEC and safety codes.
Homeowners should expect to have power out during this period. Understanding what influences the time assists in planning and reduces stress.
The next section outlines steps, tips, and what to expect.
Replacement Timeline
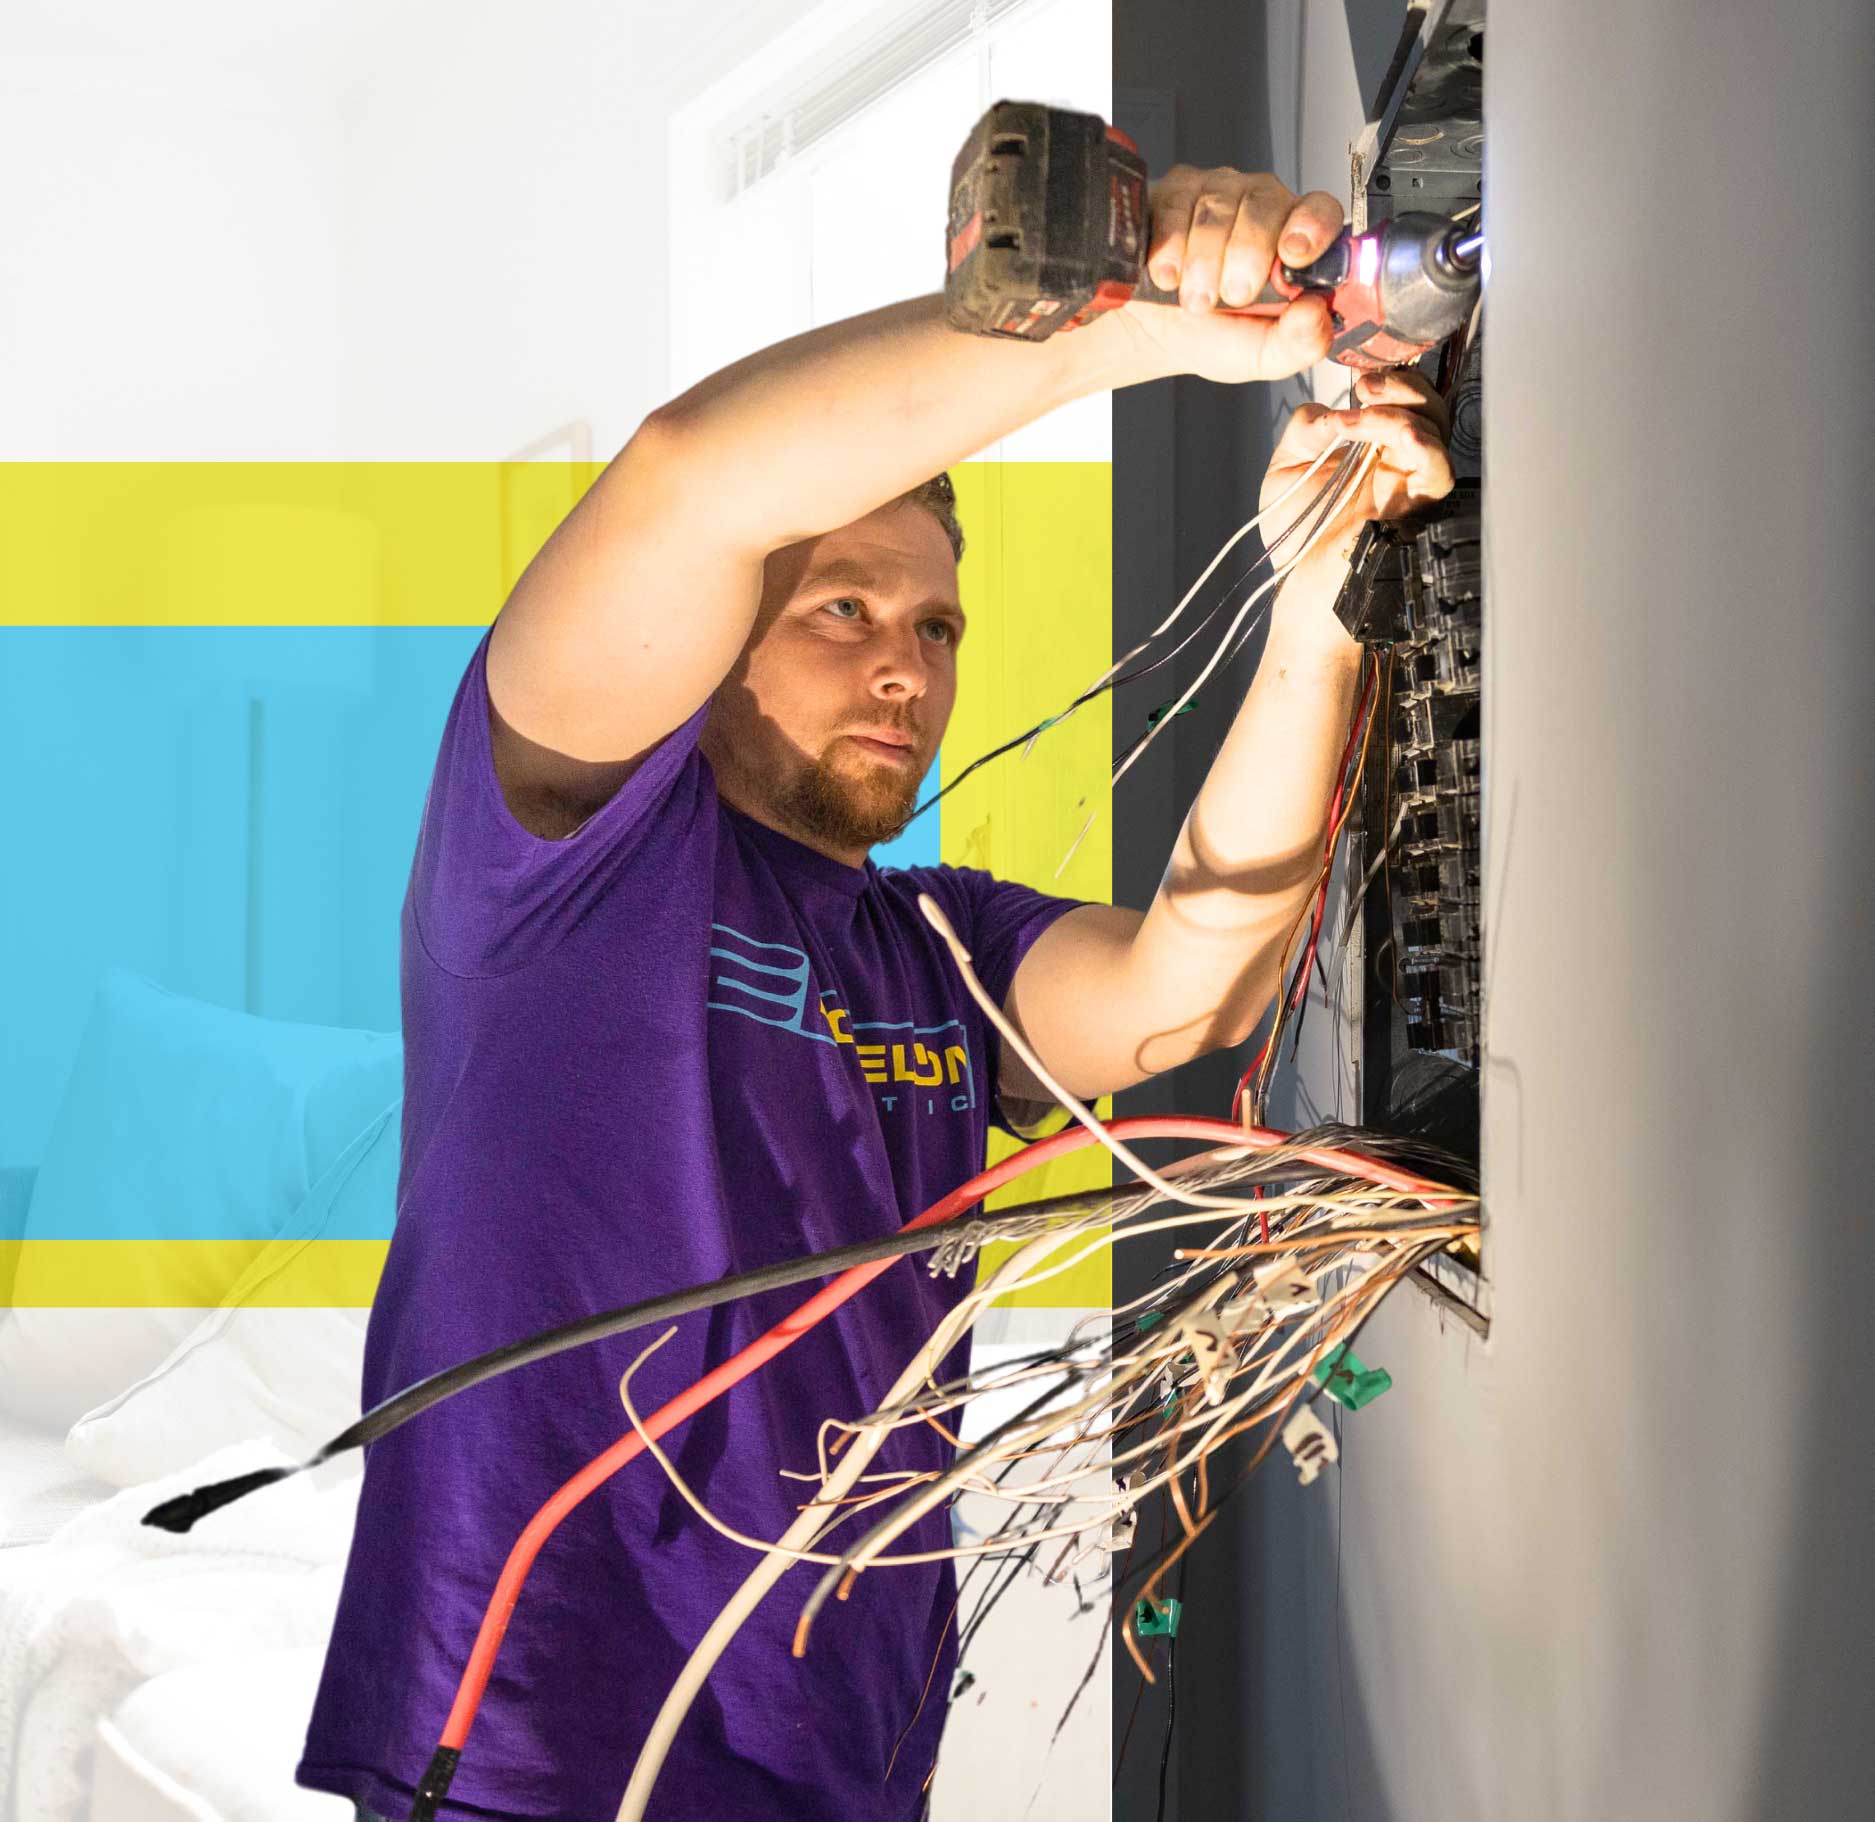
Replacement Timeline] It generally takes 4 to 8 hours to replace an electrical panel in most homes. This assumes basic removal and installation. More laborious work, like full service upgrades or a switch from an old fuse box to a modern breaker box, can sometimes consume up to 12 hours or more. Anticipate an outage for the majority of the day, usually 6 to 8 hours. The complete process, with permits and inspection, can run a week or more.
1. Panel Complexity
Here’s how the panel type and age factors into the replacement timeline. Contemporary panels with clean designs are quick to swap and often fall at the bottom of the 4 to 8 hour spectrum. Older panels, particularly those with antiquated wiring, need more care.
Multi-circuit complex breaker systems or custom work for larger homes can add hours and can bring you closer to 10 to 12 hours. If your setup is strange or otherwise not off the shelf, it will take longer as electricians make adjustments to fit the new panel into the space occupied by the old.
2. Wiring Condition
Even before construction begins, electricians check the wiring. If they discover frayed or outdated wiring, the work stalls. Sometimes repairs or rewiring is necessary, particularly if the system is not up to code.
This can drive the job from a half day to a full day. Unsafe wiring means additional testing once the new panel is installed, so we can verify safe, consistent power throughout the house.
3. Location Access
Convenient access results in less time spent dragging tools from the truck to the panel. If your panel is in a tight or hidden space, like a basement corner or behind built-in units, it takes more time to complete the work.
It aids in timing the replacement for when the space is clean. If you discuss access problems early on with your electrician, it can reduce unexpected issues and help keep the timeline of your project on schedule.
4. Service Upgrade
For homes requiring additional power for new appliances or additional rooms, a service upgrade may be included in the panel replacement. This requires additional time.
Upgrading to a higher amp panel, such as a 100 amp to 200 amp upgrade, results in more wiring and occasional alterations to the main service line. Working in advance with your electrician keeps your system aligned with your future requirements and prevents rework.
5. Code Compliance
All panel replacements must conform to local electrical codes. Electricians utilize materials that comply with present safety standards so they aren’t held up later.
Inspections must be done prior to power being restored, and scheduling those inspections can shift the entire timeline. The permit and sign-off process tends to add a day, and in certain areas, the total project from A to Z can take a week or longer.
The Process
Electrical panel replacement is more than just a two-step project. This is what a good road map looks like. It keeps the process safe and on time. It’s critical for homeowners to understand what they’re in for, as the replacement impacts day-to-day life and demands days without power.
This timeline is flexible and can shift depending on the scope of work, permit needs, and inspection schedule. Clear communication with your electrician at every stage is important.
Key steps in electrical panel replacement:
- Assessment and planning
- Gathering permits and documentation
- Power shut-off and removal of old panel
- Installation of new panel
- Testing and verification
- Final inspection and approval
Preparation
A professional assessment comes first. The electrician looks over the current setup and plans the job, which may include a site visit and checking the home’s electrical needs. This step helps spot any special challenges, such as cramped panel locations or outdated wiring.
Before the work starts, all tools and parts should be on hand, including circuit breakers, cables, the new panel, and safety gear. This keeps things moving and avoids last-minute runs to the supplier.
Inform the entire household of the impending outage. Most replacements require the main power to be off for six to eight hours, so people can schedule accordingly. Just ensure that the electrician has access to your panel and any pertinent papers, such as vintage inspection reports or wiring schematics.
Going over the electrical plan with your contractor before construction starts can help catch potential problems before they bog down the job.
Installation
A methodology is crucial at this stage. The electrician pulls the old panel and wires loose, then installs the new one, ensuring everything complies with local codes. The real hands-on work is generally four to eight hours, but if upgrades such as new circuits or grounding are required, it can run longer.
We’re smart to stay in touch with your electrician throughout the job, so you know if things are on track or if surprises pop up.
After the new panel is installed, the system is tested. Each breaker gets tested to ensure it operates properly and supplies power to the correct locations. Any modifications, such as new circuits or relocated outlets, should be documented.
These notes may assist you with future upgrades or repairs.
Finalization
- Design a checklist to verify that all wiring is secure, breakers are labeled, covers are in place, and the panel is grounded. This catches any stragglers before sign-off.
- Schedule a final inspection with the local inspector. This is code in most areas, as a third-party inspector has to inspect it for safety and code adherence. This step requires an additional day, as inspections are at the mercy of the local inspectors’ availability.
- Give the homeowner a full record: permits, inspection results, and notes from the job. These are commonly required for insurance or selling the house.
- Discuss any upcoming requirements, like regular maintenance or potential enhancements, so the homeowner is prepared for what’s ahead.
Permits and Inspections
Replacing an electrical panel isn’t merely the labor. A large portion of the timeline comes from permits and inspections. Most locations require you to obtain permits prior to any panel work beginning. This is to ensure all new wiring and panels comply with local regulations and are safe. From replacing a sub-panel to a complete service upgrade, the permit process determines how long your project takes.
Depending on where you live, securing the necessary permits and scheduling the inspection can add a few weeks to the project. Even basic panel swaps could require permits and a quick inspection. More substantial work, like relocating the panel or service upgrades, can entail additional steps and waiting.
Permits and inspections are more than just checking a box; they safeguard you from fines and unsafe work. Skipping permits can cost you beyond the price of the application itself. Fines and forced rework can pile up quickly. Permit and inspection fees run between $150 and $500 based on your local regulations and scope of work.
Every stage in this process means paperwork. Being on top of all the forms, receipts, and inspection results is crucial. You might want these for resales, insurance, or if an issue arises.
Permits & Inspections – Scheduling inspections just in time keeps the momentum going. Most inspectors are going to want to see the work at certain stages, typically before you can close up walls or re-energize power. If you don’t schedule these visits efficiently, delays accumulate.
For instance, a utility company might only send someone out on a few days to disconnect or reconnect power. Others have you wait for one inspector’s approval before scheduling the next. This can add days or weeks. In congested urban centers, permit approval and inspections usually consume one to four weeks. If your project requires the power to be turned off, working with your utility can extend this even further.
A helpful checklist includes: confirming local permit needs, applying early, tracking all paperwork, and scheduling inspections at the right phases of work. It’s wise to request a definitive timeline from your electrician or contractor. They should know when to schedule each inspection and what paperwork to save.
Deposit screenshots of everything, in case you ever need it or proof that you complied.
Unforeseen Issues
Electrical panel replacement tends to reveal unforeseen issues that affect both the timeline and the budget. Even the best laid plans have unforeseen issues. Hidden damage, code violations, and utility delays can all add hours or even days to the project. This part dissects the usual suspects, how they arise, and what they can do to your schedule and budget.
Hidden Damage
Intrusive damage can really add time and cost to a panel replacement. At times, water damage or rust behind the old panel only becomes apparent after the electrician pulls the cover out. Aged or frayed wires could seem okay initially yet exhibit indications of overheating or insulation failure upon further inspection.
Corroded connections, for instance, can bottleneck the work because each has to be cleaned or replaced in order to be safe. When these issues arise, additional fixes are nearly always required. This can include replacing areas of wiring, exchanging connectors, or even putting in a sub-panel if the main system is too damaged.
Every additional step extends the timeline, sometimes by a few hours, sometimes by an entire day, depending on how bad the damage is. Documentation is good. Any issues discovered should be logged prominently, so future enhancements or debugging begins from a point of information rather than conjecture.
Recording these issues can assist in tracking expenses and future work planning. Upfront and transparent communication with your electrician is essential. Tell them what the damage is, both schedule-wise and price-wise. That way, there are no surprises if the project requires additional time or materials.
Code Violations
A comprehensive inspection of the old system can expose potential violations of existing electrical code. Old systems could be missing grounding or have wiring that no longer complies with safety standards. If the system came with your house that was built decades ago or was not installed by a licensed professional, it may not align with current standards.
It’s not a choice to repair these code violations; safety requires that you comply with the latest codes. Damage may include grounding upgrades, rewiring sections of the home or even relocating the panel. Each of these activities can contribute to time and expense.
It may involve more materials, specialized labor, or even permits. Unanticipated consequences can arise. Schedule your electrician to make a definitive plan for these fixes. Once you have a plan, you can avoid the delay.
Utility Delays
Your utility providers get involved when you replace a main panel. Power has to be left off safely, which requires coordination with the local utility. At times, waiting for the utility to arrange a shutoff or inspection can hold up the project for days.
Potential delays could arise from utility locate needs. Most regions require a survey to locate underground lines prior to any excavation or significant construction. This waiting period can be uncertain.
Talk with your electrician early about what to anticipate from the utility side. Being aware of potential hiccups allows you to schedule your day and stay frustration-free.
Your Contribution
A prepared homeowner can help to expedite the electrical panel replacement. Your contribution has an immediate impact on how fluid and speedy the project proceeds. Planning, access, decisions, and plans for the future all factor into the timing and quality of the final product.
Clear Access
Clear away any furniture, boxes, or storage items near the panel prior to the work commencing. Electricians require an open work area of at least 1 meter around the panel to maneuver tools, ladders, and wiring. Convenient access keeps them productive and secure.
Be certain the location is nicely illuminated. If you can, use portable lights, particularly if the panel is in a basement or garage where the lighting is poor. A clutter-free, bright space minimizes trips or falls for the work crew.
Note any worries about pets, security gates, or locked doors. Inform your electrician beforehand if there are any problems that would impede access. This keeps the work on schedule.
Make it a point to leave the space open for the entire workday. Most panel replacements require four to eight hours, though complicated jobs such as a fuse to breaker box swap can take eight to twelve hours or more.

Decision Making
Consider if your panel is adequate for your power requirements. A lot of vintage homes still utilize 60-amp panels, which tend to fall short for air conditioners, dishwashers, or smart security systems. Upgrading provides you with headroom and protects your system.
Discuss the possibilities with your electrician. They can walk you through the advantages and disadvantages of various panel sizes and brands. If you’re considering a sub-panel or whole house surge protection, this is your moment to make that call.
Make all final upgrade selections before work starts. Getting cold feet during the swap can add hours to the work, postpone reconnection, and possibly necessitate an additional visit from the crew.
Future Plans
Think about whether you will be adding more kitchen appliances, A/C units, or an EV charger. Consider home offices, workshops, or home theaters.
Consider smart home enhancements, like automated lights or security systems, that can add to the panel’s demand. If you anticipate future additions or simply want peace of mind, select a panel that can accept additional circuits.
Talk these needs over with your electrician. They can assist you in selecting a panel that matches your schematics and spares you from having to update again shortly.
The majority of panels stick around for approximately 25 years. Designing for expansion today conserves hours and dollars tomorrow.
Cost Versus Time
Cost versus time is what it’s all about when considering an electrical panel replacement. Cost can vary greatly depending on the difficulty of the job, the panel type, and your location. Most folks will spend between $519 and $2,188, with the typical cost being near $1,343.
For a standard 100-amp panel, the cost typically ranges from $800 to $2,500. If you require more power for items such as an EV charger, kitchen remodel, or generator, you can upgrade to a 200-amp panel for $2,500 to $4,500. If you need to move the panel or increase your home’s amperage, expenses can reach as high as $4,500.
The time for the work depends on complexity as well. The real swap typically requires a single day if there are no surprises. The work isn’t done when the wires are connected. Waiting for the permit and final inspection that may cost $50 to $300 adds an additional day or two.
Some cities or counties will approve quicker and others will push back your schedule. If you’re looking to save, consider booking your project during an electrician’s off-season, typically late fall or early spring. A lot of electricians have reduced rates then, and you could jump the schedule.
Getting the appropriate panel size at this point in time saves you both money and time down the road. For example, if you select a 100-amp panel but are considering additional appliances or features in the near future, you’ll be headed for another upgrade down the road.
That is, it will cost you labor and permits two times. It can be cost-effective to pay more for a 200-amp panel up front if your needs expand. Getting quotes from multiple electricians lets you compare the optimal combination of cost and time.
Some will be cheaper but slower, and others will be faster but more expensive. Request a definite timeline showing the time for permits approval and inspection.
| Complexity Level | Typical Cost (USD) | Timeline (days) |
|---|---|---|
| Basic 100-amp swap | $800–$2,500 | 1–2 |
| 200-amp upgrade | $2,500–$4,500 | 2–4 |
| Move panel/expand | Up to $4,500 | 2–5 |
A good electrical system is an investment. Investing a little extra upfront in a bigger or higher-quality panel can help you avoid future outages, make your home safer, and accommodate contemporary upgrades.
Juggling these considerations allows you to select what is optimal for your household and wallet.
Conclusion
Replacing an old electrical panel usually takes anywhere from a half a day to two days. The work speed varies based on the house size, panel type, and existing old wiring. Additional time can go to municipalities or last-minute repairs. Upfront items such as clearing space or having a conversation with your electrician get things moving smoothly. A little foresight goes a long way in reducing delays and stress. Transparent expenses and timelines ahead of time help establish real expectations and save frustrations. For those ready to proceed, collect all your information, pose specific questions, and choose an expert who knows local codes. Start with a checklist and maintain an open line with your installer.
Frequently Asked Questions
How long does it usually take to replace an electrical panel?
Generally, electrical panel replacements require four to eight hours. It depends on the panel size, wiring complexity, and site conditions.
Do I need to be present during the electrical panel replacement?
It’s useful for you to be there at the beginning and the conclusion. This gives you the opportunity to respond to queries and inspect the completed work.
Are permits required for electrical panel replacement?
Yes, nearly everywhere you need permits and inspections to ensure the work is code safe. Double check with your local authority for anything specific.
What factors can delay an electrical panel replacement?
It can be delayed by unexpected wiring problems, complicated floor plans, or code issues encountered during inspection. Permit or utility approvals can influence the timeframe.
How much does replacing an electrical panel cost?
Depending on where you live and what type of panel you have and labor costs, it varies. Typically, it is between $500 and $2,000, excluding permit fees or surprise repairs.
Can I use electricity during the replacement?
No, the power will be off for safety reasons during the replacement. Prepare for a few hours without power.
How can I help speed up the replacement process?
Clear the surroundings of the panel, open access for electricians and have the required paperwork at hand. Good preparation can minimize delays.