Key Takeaways
- Radon is an invisible, flavorless gas that can collect inside properties and is a prime cause of lung cancer in those who don’t smoke. Regular home testing is directly linked to your health and safety.
- Radon detectors are important for indoor air quality and knowing which type to choose depends on home layout, personal needs, and maintenance preferences.
- If you install it properly, in the correct location and placement, your radon readings will be much more accurate and you will be able to catch it reliably.
- Radon detectors need regular calibration, maintenance, and re-testing to remain accurate and reflect any changes in the home environment.
- How to interpret your radon test results – what is a safe versus unsafe level and what to do if yours is high, protecting your household’s health.
- Maintaining radon test, maintenance, and mitigation records keeps you on top of your potential progress and has your back when it comes to home safety or real estate.
A radon detector installation guide provides specific instructions on how to install a radon detector in your home or office.
Radon is a silent threat. It is a colorless, odorless gas that can accumulate indoors and present a health hazard with prolonged exposure. By monitoring your radon exposure with a detector, you can better protect yourself and those around you.
To assist in installation, this guide provides advice on location selection, device management, and safety precautions.
The Silent Threat
Radon is a colorless, tasteless, odorless gas that can accumulate in homes, schools, and places of work. It occurs naturally from the decay of uranium in soil, rock, and water. The majority of individuals don’t know when radon is lurking, making it a hidden danger that can be detected only through testing.
By knowing its source and spread, we can keep our indoor spaces safe for all.
Radon Explained
Radon is created when uranium in dirt decomposes, generating radioactive gas that permeates soil and stone. The gas can sneak into buildings in a multitude of ways, including cracks in floors and walls, construction joints, or even around pipes and cables.
It doesn’t require big holes to trickle. A minuscule fissure or crevice will do.
Testing for radon is the only way to know if you have a problem. Short-term tests measure for a few days but cannot provide long-term exposure as radon levels fluctuate. Long-term tests, employing continuous radon detectors, gather information over months and offer a better perspective.
Both passive and active testing are employed, but only always-on surveillance provides a comprehensive view.
Radon detectors are essential. They assist in monitoring for changes and detecting elevated levels early. If you’re just doing short-term tests, rooms need to remain sealed for 12 hours before testing, and the detector should be located a minimum of one meter above the floor in the lowest lived-in level.
Health Risks
Radon is the second leading cause of lung cancer in the US overall and the number one cause for non-smokers. Radon leads to approximately 20,000 lung cancer deaths annually in the US. Adding smoking and radon multiplies the risk even further.
The risk is genuine and frequently imperceptible. Residents of elevated radon homes are at increased risk of disease over time. Radon’s stealth is its most dangerous characteristic.
Short spikes of radon might not do a whole lot, but consistent exposure accumulates. Because radon levels fluctuate, they suggest testing every two years or following major renovations. Testing is the only way to know your risk. If levels are above 4.0, action should be taken to reduce them and keep your home safe.
Global Prevalence
Radon is native globally. Areas exist with much higher levels due to geology. For instance, regions with uranium-rich soils or rocky terrain tend to experience higher levels of radon. Cold climates with closed window situations are more susceptible.
Government programs in a number of countries publicize and provide advice for testing and remedying radon issues. Homeowners in high-risk areas are urged to test often and heed exposure-reducing advice.
Select Your Guardian
Radon detectors are an important means of monitoring indoor air quality and protecting your family from radon’s health hazards, a naturally occurring radioactive gas. Testing is the first step to protecting your family from the world’s second leading cause of lung cancer, which is radon.
How to choose the right detector: The right choice of detector depends on your home’s specific requirements, a grasp of the available options, and considerations about your lifestyle and willingness to live with continued monitoring.
Detector Types
| Type | Accuracy | Ease of Use | Maintenance | Cost |
|---|---|---|---|---|
| Digital | High, real-time readings | Simple interface | Low | Moderate |
| Passive | Reliable, lab analysis | Minimal setup | None | Low |
| Continuous | Consistent, ongoing data | Easy to read | Low | High |
| Short-term | Quick snapshot, less precise | Straightforward | None | Low |
Digital radon detectors offer immediate, real-time readings, so you can quickly verify levels. They’re great for people who like lots of supervision and fast feedback.
Passive detectors, such as charcoal canisters and alpha track devices, require users to ship samples to a lab for analysis, so results require a wait but are reliably accurate for a given period. Continuous monitors provide ongoing, granular data and are perfect for long-term validation once mitigation systems are established.
Short-term detectors provide a quick answer, but they can miss radon variations caused by weather or ventilation. Factor in recurring expenses as well since digital and continuous monitors typically have a higher initial price tag but require less upkeep. Passive kits tend to be less expensive but are disposable.
Home Environment
How your home is constructed makes a difference. Basements, crawl spaces, and slab foundations all provide different pathways for radon to enter your home.
Basements and lower levels are typical radon hot zones given that gas intrudes from soil and accumulates in confined, stagnant spaces. Ventilation makes a huge difference. Areas with low air circulation, like closed rooms or sealed basements, allow radon to accumulate.
Good air movement will reduce radon levels but not necessarily eliminate risk. Ensure test kits are positioned at least 50 cm above floors and away from windows, external walls, and wet areas for accurate results.
Know your home’s layout and air flow prior to choosing a detector. This helps you in selecting the appropriate variety and location for testing or monitoring.
Personal Needs
If you or family members have a history of lung issues or want to be on the front foot about health, a detector that provides continuous monitoring may be optimal.
It has an easy-to-use interface, especially if you like simple devices or are less technically inclined. Consider how frequently you’re willing to check the device or swap out batteries.
Some equipment requires frequent monitoring. Some can be unattended for months. Pick one that suits your lifestyle and your willingness to tend the home.
Installation Guide
Installing a radon detector requires specific procedures to ensure the instrument functions properly and maintains your indoor environment secure. Adhering to the manufacturer’s guide is essential.
With the proper tools, some forward thinking, and selecting a prime location in your home, you are able to achieve optimal results whether you install it yourself or hire a pro.
1. Preparation
Gather your tools ahead of time. Typically, you will need a screwdriver, tape measure, pencil, and mounting hardware.
Certain detectors require batteries or power adapters, so consult the components list that accompanies your unit.
Read the maker’s guide once all the way through. This lets you know what to do next and minimizes errors. Each brand may have distinct guidelines.
Locate where the detector can be effective. Avoid cluttered bunches and furniture barricades. Ensure the surface is level and free of debris.
2. Location
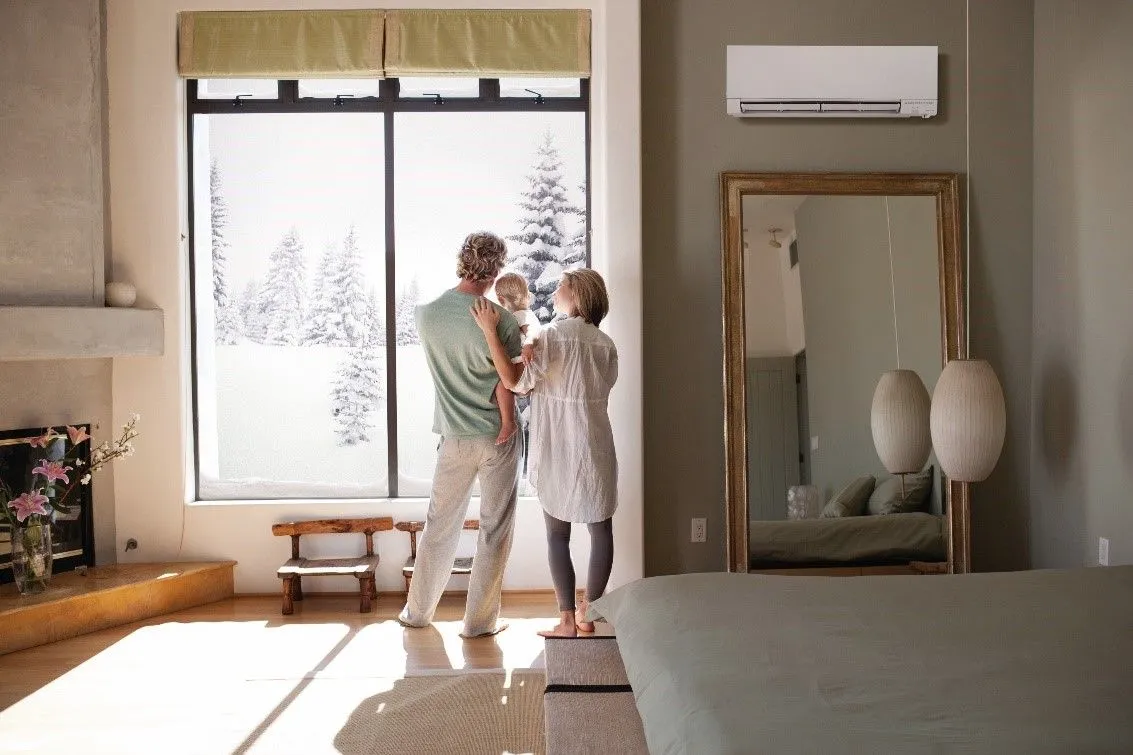
Select a location that reflects what your typical air is. Don’t install the detector near doors, windows, or vents as drafts can disturb readings.
Test the lowest level occupied by individuals, typically the basement or ground floor. For instance, if you have a finished basement where you hang out, that’s your best option. If not, then the living room.
The place should allow the detector to operate continuously without being displaced or jarred.
3. Placement
Install the detector as the manufacturer directs. Some require screws or wall anchors. Others simply rest on a shelf.
Keep the detector at least 50 cm (20″) off the ground. It helps it detect radon where you breathe the most.
Avoid locations next to a shower, laundry, or radiator. Moist or warm air could influence the sensor.
Remove any objects that could prevent air from reaching the detector.
4. Activation
Power on the detector according to the manual. A few have a button. The rest you have to plug in.
Allow the detector to run for as long as the manufacturer recommends before taking the initial reading. This can be a few days or weeks.
Observe for any warnings on the apparatus. A few detectors include lights or sound alarms to warn you about faults.
Understand your results – find out what the numbers or symbols on the readout mean.
5. Troubleshooting
If you see weird readings or no numbers, consult the manual’s troubleshooting guide. Typical concerns are power issues, clogged sensors, or incorrect installation.
Call the manufacturer if you can’t solve the problem. Brands usually have support or guides online.
Either way, make sure you properly install and test your detector once you’re finished. Search for software updates or safety recalls for your specific model.
Optimizing Accuracy
Accurate radon readings are about more than dropping a widget on a shelf. Your results are influenced by the surrounding environment, the home’s specific characteristics, and the detector’s current status. If you want a real look at radon risk, it’s important to manage these variables, maintain solid testing practices, and verify your devices regularly.
Environmental Factors
Radon moves with changes in humidity and temperature. Digital detectors are most effective in environments where the relative humidity is less than 85 percent. Excessive moisture can damage the sensor and cause inaccurate readings.
Winter testing, when doors and windows remain closed, usually indicates higher radon levels. These readings are more representative of the threat during the majority of the year. Summer generates its own air flows, so conducting a second test during the warmer months helps detect variations.
Long-term tests, running at least 90 days, even out the spikes and dips created by weather and daily routines. International agencies such as the EPA and CDC recommend these extended tests for more accurate averages.
Because air quality fluctuates with the seasons, it’s useful to monitor indoor climate and open windows accordingly. If you observe stuffy rooms or dampness, verify that your air systems are functioning properly and do not relocate the detector after testing commences.
Building Influence
Radon entry is formed on the structure of a home. Concrete, brick, and stone impede radon but do not prevent it. Hairline cracks in floors or walls, pipe gaps, and unfinished crawl spaces all provide simple access routes for radon.
Tightening these openings reduces radon entry and stabilizes testing. Ventilation is a big factor. Well-balanced airflow in a home means radon readings are more stable.
Stale air in tight spaces can seal in radon, while abrupt drafts or exhaust fans create temporary dips or rises. Consider your home’s layout and airflow when deciding where to test. Positioning the detector on the lowest occupied level, out of drafts or sunlight, produces the most precise result.
Calibration Checks
Radon detectors, in particular digital versions, require frequent calibrations to maintain accuracy. Many manufacturers recommend calibration annually, so always consult your user manual.
Record the date and outcome of each calibration and save these logs for future inspections. If a detector begins behaving strangely or it doesn’t pass a self-check, ring a qualified technician for assistance instead of mending the device by trial and error.
Staying on top of calibration doesn’t just foster confidence in your measurements; it assists in early sensor issue detection. For houses equipped with mitigation systems, an annual or biannual visit for an inspection conducted by a qualified expert can help guarantee continued system efficacy.
Interpreting Results
Radon test results need a straightforward interpretation. Radon is colorless, odorless, and its level in homes frequently fluctuates with weather, season, and home modifications. Understanding your results is crucial to help you make wise decisions regarding indoor air and your family’s health.
- Radon below 1.3 pCi/L (48 Bq/m³) is generally safe. No immediate action is needed.
- Radon from 2.0 to 4.0 pCi/L (74–148 Bq/m³) indicates moderate risk. Consider retesting or consulting a professional if sustained.
- Radon above 4.0 pCi/L (148 Bq/m³) is unsafe. Action to reduce levels is advised.
- Prolonged exposure to high levels of radon can lead to lung cancer, particularly in smokers.
- Radon is the leading cause of lung cancer for non-smokers globally.
Understanding Levels
| Radon Level (pCi/L) | Radon Level (Bq/m³) | Health Implication | Action Needed |
|---|---|---|---|
| < 1.3 | < 48 | Low risk | Monitor, retest every 2 years |
| 2.0 to 4.0 | 74 to 148 | Moderate risk | Retest, potential for mitigation |
| > 4.0 | > 148 | High risk | Mitigation recommended. |
Radon levels do fluctuate. They can fluctuate from day to day and season to season. Rain, snow, or heating shifts can alter readings. These shifts make one quick test less indicative of your annual average.
Long-term tests, which last at least 90 days, provide a clearer view because they represent average exposure. By contrasting your results with national averages, you can get a sense of where your home stands. The world’s average indoor radon is approximately 1.3 pCi/L. If your readings are higher, even just a little, it is something to watch.
Short-term spikes matter less than average. Pay attention to the mean level over weeks or months, not ephemeral jumps. Both short-term and long-term test results are important, but it’s only the long-term results that tell you whether you need to do something.
Action Thresholds
- Your national health agencies, environmental authorities, and local government websites are good places to find guidance and certified mitigation experts.
- Radon mitigation contractors can interpret your test and recommend repairs.
- Home improvement centers offer radon mitigation systems and DIY kits.
- Websites describe mitigation steps and provide user system reviews.
High radon requires quick action. The more you wait, the greater the risk. If levels exceed recommended limits for more than three months, consult with a mitigation specialist. Several specialists provide a complimentary or inexpensive consultation.
It is prudent to consult reputable sources. Seek qualified experts and reliable public health information. This keeps your mitigation secure and potent.
Next Steps
- Retest with a long-term device if you only tested with a short one.
- Discuss results with the entire family and property manager as appropriate.
- Schedule a professional radon mitigation assessment if levels are at or above 4.0 pCi/L.
- Save test results for future property records and real estate transactions.
Radon impacts each individual resident. Release test results so the whole world is aware of the danger. This is crucial for renters, landlords, and home buyers.
Mitigation systems, such as sub-slab depressurization, provide permanent solutions. These systems reduce radon and maintain a stable level over time. Test again after you install any system. Install it, then test it to see if it works.
Ongoing Vigilance
Active surveillance is the secret to controlling radon! Radon is invisible, tasteless, and odorless — testing is the only way to know if there’s a problem. Radon levels can vary seasonally and from one year to the next, so ongoing vigilance is vital.
Even minor home renovations, such as installing new windows, finishing a basement, or fixing the foundation, may open new radon entry points and alter readings. That risk is serious because radon is the number two cause of lung cancer after cigarette smoke. Long-term exposure can take years to manifest, so this continued vigilance is important for health and safety.
Extra caution is necessary for regions such as Iowa, where approximately 70% of homes exceed 4.0 pCi/L, and Wisconsin, where 10% of residences are impacted. Continued vigilance keeps families safe by catching escalations early and directing prompt intervention.
Maintenance
Keeping your radon detectors maintained begins with periodic inspections. Swap the batteries twice a year for battery-powered units, or ensure hardwired ones have consistent power. Dust and particles block sensors, biasing outputs.
Air-dry clean detectors with a wipe regularly as recommended by the manufacturer. In other words, NEVER clean it any other way or you might damage it. Once a year, have a pro come check on your radon mitigation system, especially if you see strange readings or system warnings.
Periodic maintenance ensures measurements remain accurate and work properly.
Re-testing
Radon re-testing should occur every two years or sooner following home renovations that could impact airflow or foundation integrity. If you add a room, finish a basement, or repair cracks in floors and walls, schedule to test again.
Once you implement a mitigation system, subsequent tests verify your fix is holding. Maintain a calendar or reminder system for testing schedules and record results after each test. You can find dependable radon test kits at your local hardware store, online, or through a certified professional.
Using reliable kits ensures that your results are accurate.
Record Keeping
Document every radon test — when and where it was tested and the results. A basic log, electronic or on paper, can record variations as they occur and make patterns easy to identify.
Log any repairs, upkeep or professional inspections performed on your mitigation system. These logs assist in home sales, demonstrate proactive maintenance, and substantiate health history if necessary.
Well-kept files conserve hours and headaches when you need to find something quickly.
Conclusion
Radon sneaks in with no sound or smell, but a good detector lets you take charge. Simple steps make setup easy, and the perfect location ensures you get accurate readings. With a little TLC and a simple test, those digits remain true. When you read those numbers, you know what to do next. Safe air is healthy air, and every little bit counts to keep your home safer day after day. To maintain your radon risk at a low level, check your detector frequently and monitor the fluctuations. For your peace of mind, keep your ears open and utilize your resources. Have questions or want to know more tips? Either trust a third party or get a local expert.
Frequently Asked Questions
What is radon and why should I be concerned?
Radon is a colorless, odorless gas that seeps in from the earth. It is the second leading cause of lung cancer after smoking and causes about 21,000 lung cancer deaths per year. Testing protects your health.
Where should I install a radon detector for best results?
Place the detector on the lowest occupied level of your house, distant from windows, doors and direct ventilation. Steer clear of kitchens and bathrooms for optimum results.
How do I prepare the area before installing a radon detector?
Close doors and windows for a minimum of 12 hours prior to installation. Set the detector a minimum of 50 centimeters above the floor and 1 meter from outside walls.
How long should I run a radon detector test?
At least a 48-hour test period is required by most detectors. For more precise results, certain units recommend testing for 90 days or longer.
What do I do if my radon levels are high?
In case of high radon levels in your test, opt for a mitigation system. Call a qualified radon expert for guidance and answers.
Can I reuse my radon detector for future tests?
Certain electronic detectors are reusable. Disposable kits need to be swapped out on a per test basis. Refer to the manufacturer’s instructions.
How often should I test for radon in my home?
They recommend testing every two years or after major home renovations. Routine testing is key to keeping your family safe.