Key Takeaways
- Low voltage vs. high voltage wiring: Know the difference to properly and safely wire your smart home devices.
- Utilize the right tools, safety equipment, and organization to simplify your wiring projects and reduce hazards.
- Find out what is required to wire your home for a smart thermostat or automation system.
- How to wire your home for a smart thermostat or automation system
- Test your system regularly, fix typical problems, and note enhancements or debug efforts for simplified upkeep and scaling.
- Be sure to adhere to local codes where applicable. Consider working with licensed professionals to keep your smart home efforts code compliant and as safe as possible.
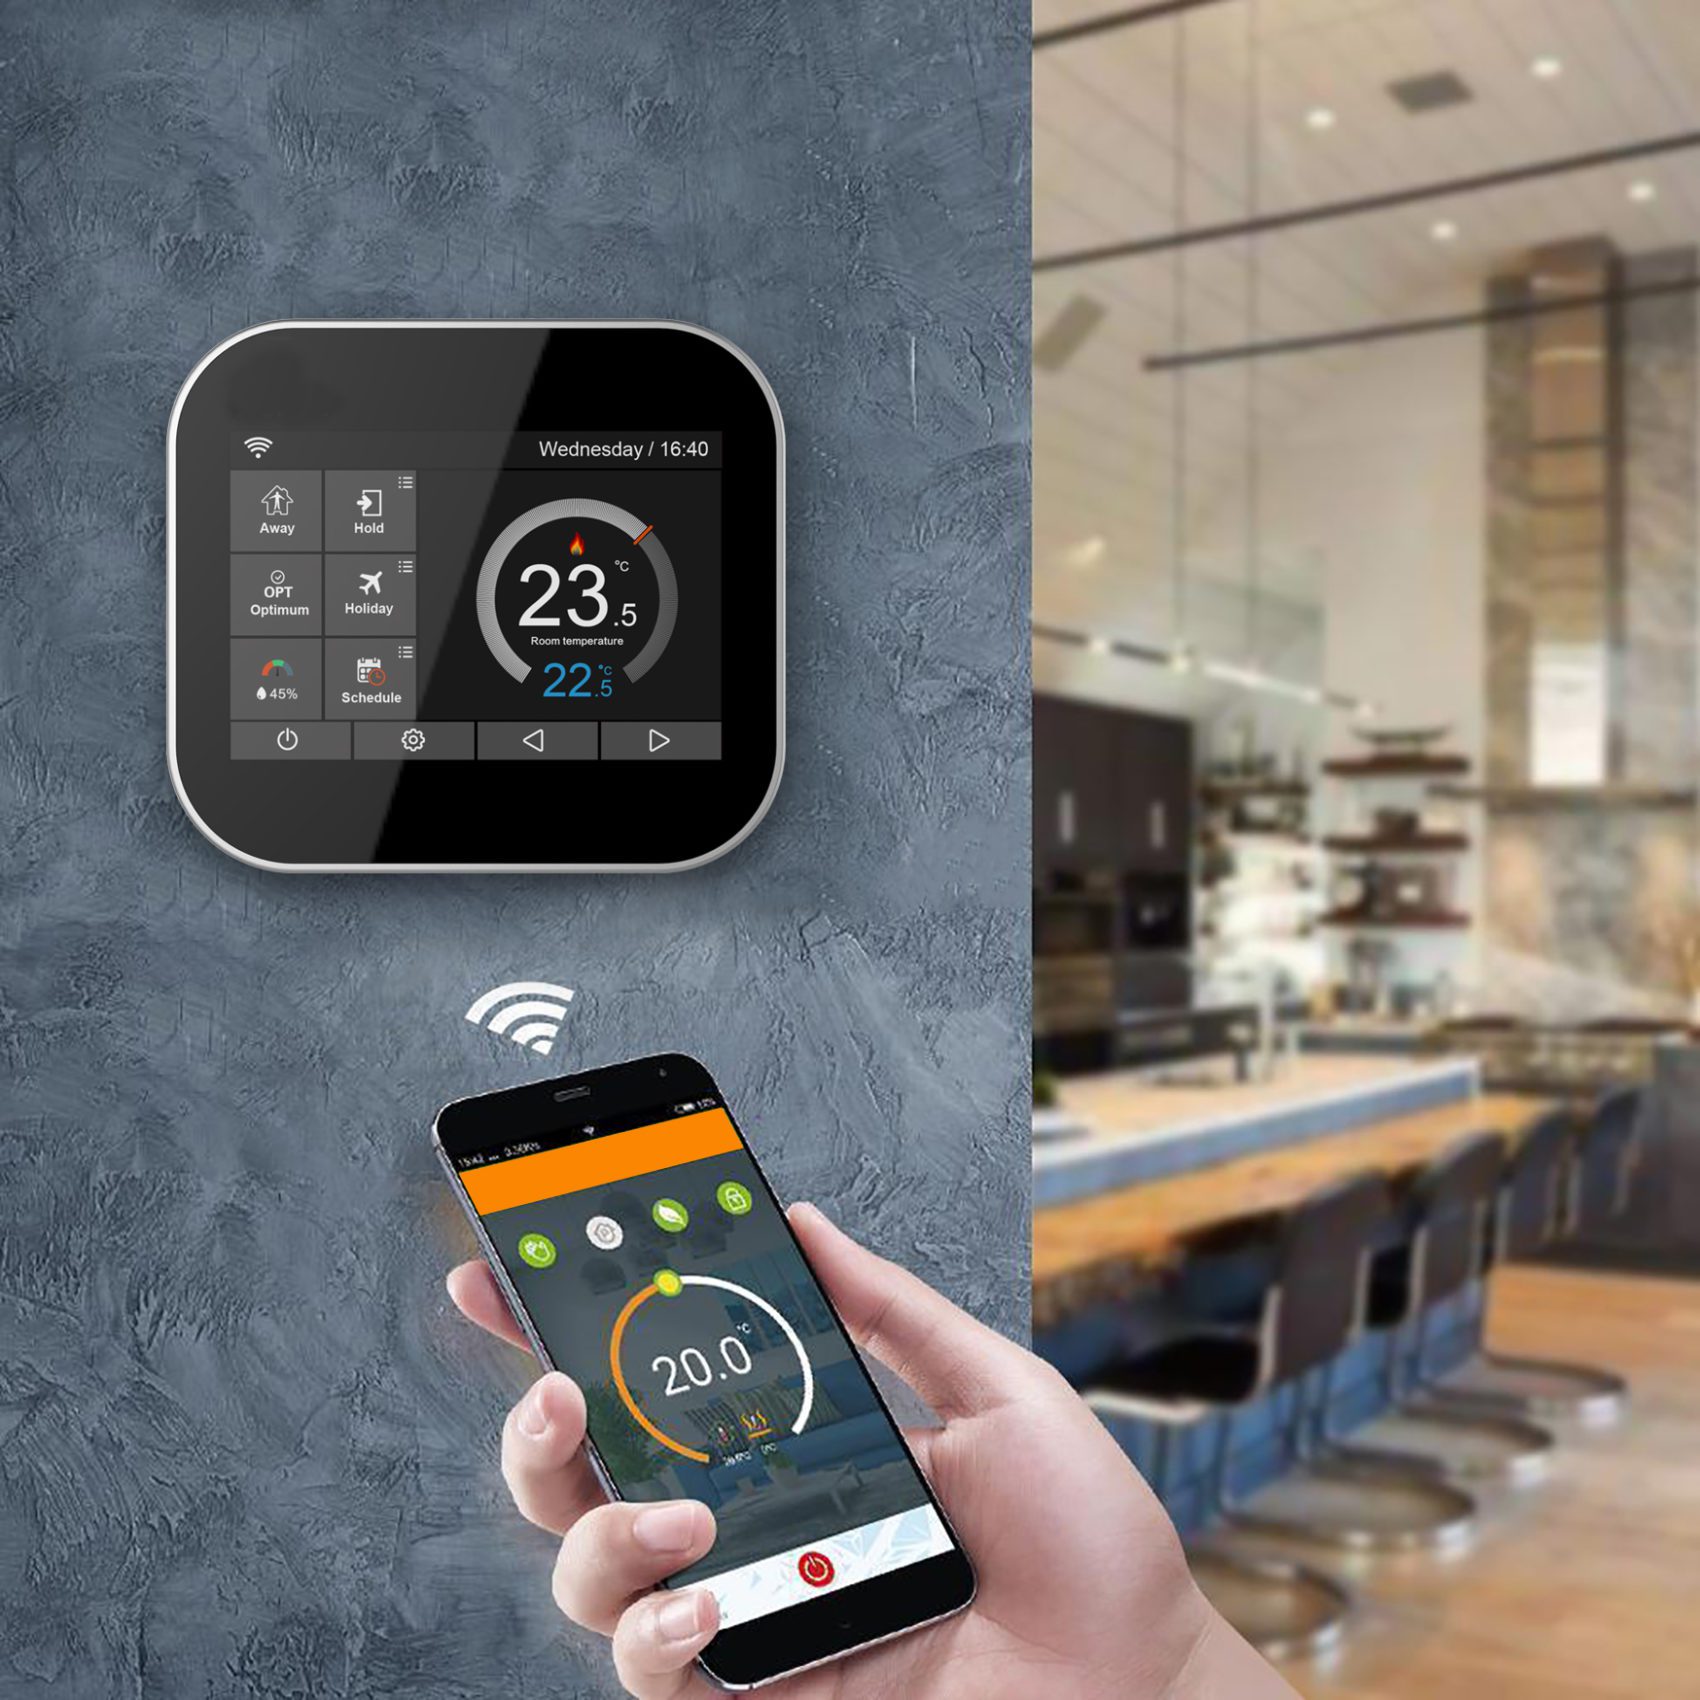
To wire your home for a smart thermostat or automation system, follow a set of steps that connect devices to your home’s power and network. Nearly all systems work with normal wiring that is in many homes.
Some configurations utilize additional wires for functionalities such as a remote or programming. Identify your home’s existing wiring to plan the work.
The following parts demonstrate in an accessible manner how to verify, plan, and install smart wiring.
Wiring Fundamentals
Wiring is the foundation for any smart thermostat or home automation. It pays to do it right at the beginning, avoiding headaches down the line from failed installations to fried equipment. Understanding the basics of low voltage versus high voltage wiring helps keep your devices and home safe.
With the proper tools, intuitive diagrams, and optimal wiring layouts, your system will run like clockwork, with less chance for catastrophic failure or fire.
Low Voltage
Low voltage wiring, which is what smart thermostats and many home automation devices use, has several advantages. It is safer to deal with, less likely to cause electric shock, and is appropriate for most smart systems’ control signals. Nearly all smart home devices operate at 24 volts AC and below, which is thermostat wiring voltage.
There is usually a bunch of 2 to 10 wires, usually 18-gauge solid core, with the 5-wire setup being the most common. Wiring basics: Wires typically come with R (power), C (common), Y (cooling), G (fan), and W (heating). A proper ground is crucial, even at these low voltages, as it protects the sensitive electronics and ensures smooth operation.
Utilize a dedicated ground wire or adhere to manufacturer specifications for ground terminals. A wiring diagram before you begin will save you errors and keep track of which wire goes where. Tag every wire and coordinate it to the appropriate terminal on both the HVAC and thermostat. This is useful if you ever need to debug or replace components down the road.
High Voltage
High voltage wiring feeds the main HVAC equipment and, in some areas, select smart thermostats. It generally operates on 120 or 240 volts. This wiring must be handled carefully, as one misstep can electrocute you or fry your devices.
Turn the power off at the breaker box before you begin any work. Compliance with all national electrical codes when installing or modifying high volt circuits is essential. Employ wiring of the proper gauge, which is typically recommended in your HVAC or appliance manual, to avoid overheating and facilitate dependability.
Well insulated tools and appropriate PPE are a must for high voltage work. Compliance isn’t only for safety, it’s for making sure your install passes inspection and functions properly!
Essential Tools
- Wire strippers
- Multimeter
- Screwdrivers
- Electrical tape
- Cable labels
- Drill and bits
- Safety gloves
- Safety goggles
A multimeter tests voltage and continuity, which can help you spot mistakes before you hook anything up. Don’t forget to always wear gloves and goggles to protect against accidental shocks or debris.
Keep things organized by separating tools and materials in labeled bins or trays to accelerate the project and eliminate errors. Great organization can be the difference between a slick job and a messy one.
Smart Thermostat Integration
Smart thermostat integration requires planning for power, wiring, and integration with the HVAC system. Wiring depends on the device and system, so it’s best to pair the setup with your home and smart device. Certain thermostats require complex wiring or additional components, and not all are compatible with all systems.
With some prep work to check compatibility, understand wiring needs, and run tests, you can help ensure its stable operation.
1. Power Source
Smart thermostats may be battery or wired powered. Wired options are more robust, but not every home is wired properly. Many smart thermostats require a continuous power source, frequently provided by a common wire (C wire). The standard is 24 volts, but you should always consult the manual to be sure.
A battery version might appear more convenient, but batteries must be replaced frequently and may not be capable of powering lots of power-hungry functions, such as Wi-Fi. If your house doesn’t have the proper wiring, a little transformer will step it down to safe voltages for the thermostat.
Installing a dedicated circuit can prevent the thermostat from sharing power with other devices, which reduces the chance of overload and maintains system stability.
2. HVAC Control
When it comes to managing your climate, connecting your smart thermostat to your HVAC system is key. For the most part, systems have a wire for each primary action: heat, cool, and fan. Most new HVAC systems will either be single or multi-stage, heat pumps or hybrid.
Some necessitate a communicating thermostat, which might be incompatible with basic smart models. Refer first to the device’s wiring diagram and double check with your HVAC system manual. It assists in recognizing important terminals, such as R (power), G (fan), Y (cooling), and C (common).
High-voltage systems, identified by 110v or 220v labels, L1 or L2 tagged wires, or wire nuts, won’t work with most smart thermostats. Once everything’s connected, run a test cycle for every function that should respond.
3. Common Wire
The common wire, or C wire, is essential for a lot of smart thermostats. It provides constant power and maintains all functionality. If your house doesn’t have a C wire, leverage an adapter kit or convert an unused wire, labeling it at both ends.
A missing C wire can result in issues such as short battery life or dropped Wi-Fi. Identify your thermostat wires—R, RC, G, C, W, Y and their functions. That way, upgrades, fixes, or troubleshooting are much easier down the road.
Most smart thermostat wires are 18-gauge solid core.
4. System Check
A system check after wiring confirms all is working right. Ensure that every wire is securely fastened and in the correct terminal. Inspect the thermostat interface and see if it communicates with the HVAC system.
Test functions such as scheduling or remote access to confirm their actuation. Log any unexpected behavior or errors for future analysis, as this can assist in identifying problems early and inform future patches.
Broader Automation
Home automation delivers more than convenience. It transforms how we experience our homes. With billions of smart devices anticipated globally by 2025, the manner in which they communicate is crucial. A nice configuration can regulate anything from lights to thermostats, even if you’re not around.
Some proper wiring, some clear planning, and the right hardware go a long way to make systems more stable and easy to use. A good grounding and attention to signal cleanliness prevent unwanted downtime. Others select a hub for convenient, one-platform management, enhancing productivity and reducing time.
Central Hub
Selecting a hub that works with your existing and future devices is key. Seek out hubs that back big protocols like Zigbee or Z-Wave, which reduce wiring complexity and support a wide range of devices. This hub serves as the brain of your system, ensuring that all devices, from thermostats to cameras, communicate cohesively.
It handles schedules, device groups, and scenes, so you can automate daily routines or operate devices all from a single app. Once you have a hub, configure it to connect with Wi-Fi and any other networks your devices utilize. It opens the door to remote access and integration with voice assistants or third-party services.
Always keep the firmware updated. Updates frequently include support for new devices or patch security holes, so keep an eye out for updates.
Cable Routing
Thinking through cable runs in advance is time saving and reduces rework. Plan out your devices’ locations and lay cables along the shortest, least visible routes. By using structured wiring, which includes organized bundles or trays, it is simpler to insert or swap devices at a later time.
Wall plates and conduits maintain cables out of sight and crisp, enhancing the room’s aesthetic. It’s a good idea to label each cable as you install it, as this will help when troubleshooting issues or scaling up. If you’re unsure of wiring or grounding, a professional’s help will stop errors and keep you safe.
Signal Integrity
Smart devices run on good signal integrity. Use quality cables and connectors to minimize interference, particularly in cord-bearing homes with tons of electronics. Position your hub and wireless devices so signals can permeate every room, with no dead zones.
Always test signal strength using your hub’s tools or a mobile app. This aids in identifying and mitigating problems before they interrupt management. Ethernet cables, Cat6 or higher, work well for data-heavy devices like cameras, while wireless protocols like Zigbee help reduce the need for cables by enabling mesh networks.
Upgrades and Fixes
Wiring your home for a smart thermostat or automation system means auditing what you’ve got. A lot of homes have legacy wiring or systems that could require modifications before taking new smart devices. This section examines what to check, what to repair, and how to maintain.
Legacy Systems
Old houses typically have 4-wire legacy wiring — R (power), W (heat), Y (cooling), and G (fan). A lot of smart thermostats require an additional fifth wire — the C wire, which provides constant power. If your wiring is only four wires or employs non-standard labels, a smart-wire module may be necessary. They come in handy when cables are missing, damaged, or a full rewire is too much effort.
Old wiring can create safety hazards and degrade performance. Many thin or worn wires can’t handle the 24-volt control power most smart thermostats use. A few systems run on line voltage, which is 120 or 240 volts. It’s dangerous and it can destroy your device to connect a smart thermostat to high-voltage wiring. Always label wires and use a voltage tester for safety.
Limits in legacy systems can block smart functionality. For instance, legacy controls won’t allow you to take advantage of sophisticated scheduling or energy tracking. If you desire complete smart home capabilities, you might have to swap out ancient wires for new ones. For safety and optimal results, have a licensed electrician inspect whether your home is compatible with smart upgrades.
Common Issues
- No C wire: Use a C-wire adapter or smart-wire module.
- Wrong wiring labels: Check the manual and use wire markers.
- Connection drops: Move the router closer or add a Wi-Fi extender.
- Power loss: Inspect the breaker, wiring, and terminal screws.
- Thermostat display blank: Double-check all wire connections.
- High-voltage system detected: Stop installation, consult a pro.
- Wires too short or damaged: Splice with wire nuts or replace.
If you keep encountering the same issues, record what you did. This checklist can accelerate fixes next time and aid others who encounter similar trouble.
Troubleshooting
Begin with easy wins. Power off, wires tight, wall plate level. Read the smart thermostat’s instructions and search for online guides, which frequently provide step-by-step aid and videos.
Test each component by powering on and off. If the fan comes on but no heat, concentrate on the W wire. If all else fails, take the thermostat off and look for loose or crossed wires. For tough-to-pin-down problems, take notes on what you experimented with.
If you’re like me and ever require assistance, your log can save time for a tech.
Future-Proofing Your Grid
How to future proof your smart home wiring against rapid technological advancements. A future-proof setup prevents expensive upgrades and allows households to evolve as new equipment hits the market. Flexible planning aids us all, whether living in a city flat or a family home across the pond.
Here’s a table with the top tips for future-proofing your smart home wiring.
| Strategy | Consideration | Example |
|---|---|---|
| Use conduits in walls | Makes future cable pulls simple, supports upgrades | PVC or metal conduits in hallways |
| Add spare cables to key spots | Reduces work and cost when adding devices later | Extra CAT6 cables run to living rooms |
| Oversize cable pathways | Handles more wires for future expansions | Using 50 mm conduits instead of 25 mm |
| Choose open-standard tech | Avoids lock-in, supports compatibility | Zigbee, Z-Wave, or Wi-Fi systems |
| Document and label infrastructure | Eases troubleshooting and upgrades | Cable tags, digital as-built plans |
| Plan upgrades for critical systems | Keeps essential devices up-to-date as tech changes | Upgradable HVAC or lighting controllers |
| Rough-in wires during build | Makes later upgrades cheaper and less intrusive | Pre-wiring for speakers or cameras |
Scalability
Future-proofing your grid involves using modular pieces, such as snap-in relays or plug-and-play hubs, which make adaptation possible without wholesale rewiring. Oversized conduits rock and allow folks to put in more cables down the road.
Taking stock of where you are and where you anticipate being is important. For instance, you may not need motorized blinds today, but running a spare power or data cable to windows makes adding them later much easier.
Documenting your wiring layouts is essential. That’s where clear diagrams, cable labels, and digital records come in handy when you need to make changes or troubleshoot down the line.
Power Backup
Power backup is essential for smart devices to keep functioning during outages. UPSs are a great option for routers, smart hubs, and thermostats. They maintain essential systems for a couple of hours when mains power drops.
Energy needs should be measured before picking a backup. Some may use battery-powered sensors for important zones, like smoke detectors or door locks, to add more reliability.
Regular testing ensures backups work when needed and helps avoid system downtime.
Hybrid Systems
Hybrid systems combine wired and wireless technologies for optimal performance. Wired connections, like Ethernet, ensure speed and reliability for high-traffic devices. Wireless options, like Wi-Fi or Zigbee, offer flexibility, particularly in locations where cabling is difficult.
Nothing like making sure your old wiring is compatible with new wireless standards to future-proof your grid. Many homes use hybrid setups: wired for smart thermostats and wireless for voice assistants or window sensors.
This balanced mix keeps your grid nimble, upgradeable, and future-limit resistant.
Compliance and Safety
Smart home wiring requires more than just the proper tools and devices. You have to comply with electrical codes and safety regulations. These measures reduce danger, protect employees, and ensure your process operates properly.
Electrical Codes
NEC codes establish the baseline for home safe wiring. These codes govern things such as wire size, grounding, and circuit protection. They help prevent fires, shocks, and other hazards. Local building codes layer more rules on top based on your area, so check both. Certain locations may require additional measures such as permits or inspections prior to commencing work.
Installing smart things like thermostats or automation can imply new wiring, relays or control. Hopefully, if you skip code checks, you don’t fry your HVAC equipment or cause a fire hazard. For instance, hooking a smart thermostat to a high voltage (120V or 240V) system can fry the device and you. Most smart thermostats aren’t for line voltage systems, so just read the manual and double check it.
If your thermostat terminals are labeled as A, B, C, or 1, 2, 3, it may require a special communicating model. Thermostats for multi-speed fans (e.g., G1, G2, G3) need a controller. If possible, employ circuit breakers and GFCI outlets for additional protection. They keep you from getting shocked and cut power if something bad occurs.
Make sure you keep up on code changes because rules change as new technology comes out. Consult the authorities ahead of every project to keep your home safe and legal.
Professional Help
| Reason to Hire a Licensed Electrician | Benefit |
|---|---|
| In-depth code knowledge | Ensures compliance |
| Skill with complex wiring | Reduces risk |
| System compatibility checks | Prevents damage |
| Proper documentation | Tracks history |
Certain tasks require more than just a DIY skillset, particularly when dealing with complicated wiring or non-standard tags (over 5 to 6 wires). A licensed electrician brings expertise, knows codes and can identify hazards you might overlook. They verify systems to avoid expensive errors, such as attaching the incorrect thermostat to high-voltage wiring.
They provide you personalized recommendations, so your smart home configuration fits your lifestyle. If you bring in a pro, document any visits, upgrades, or repairs. This paper trail assists should you sell your house or require future troubleshooting.
Always, after any work, test your system. Get it up and running within five minutes. Otherwise, look for power loss or wiring mistakes.
Conclusion
Smart tools transform people’s lives. Wired home puts more control in your hands and saves you time. New thermostats accommodate old and new wiring. You can hook up sensors, switches, and lights for complete control. Each step maintains safety in mind and adheres to straightforward principles. A well-designed configuration can accommodate upgrades, so you’re prepared for whatever’s next. Done well, the system purrs and reduces strain.
How to wire your home for a smart thermostat or automation system: Start small. Choose a project appropriate for your area. Feel right, then add more. Consult tutorials and seek advice if you encounter problems. Be careful, be simple, and enjoy the new peace in your home.
Frequently Asked Questions
What basic wiring is needed for a smart thermostat?
A smart thermostat typically needs a steady power source, commonly utilizing a “C-wire.” This wire provides consistent power and a dependable connection for your device.
Can I automate my home without new wiring?
It’s true, tons of smart home devices communicate wirelessly over Wi-Fi or Zigbee. Others, including smart thermostats, might require existing wiring or small enhancements.
How do I upgrade old thermostat wiring for smart devices?
Swap out old cables for new ones with a C-wire. Make sure to turn off power before touching wires and read the device’s installation guide or call an expert.
Is professional installation necessary for home automation wiring?
While many devices are DIY-friendly, complicated rewiring or integration with existing electrical systems is something a licensed electrician should handle.
How can I future-proof my home’s wiring for automation?
Run additional conduit and wiring with every renovation, even Ethernet cables. This makes it easy to upgrade to new technology without major construction down the line.
What safety standards should I follow when wiring for smart systems?
Be sure to follow local electrical codes and manufacturer’s instructions. Install only UL-approved, certified devices and consult a professional if you’re unsure. Otherwise, you risk creating a fire hazard or voiding insurance coverage.
Will a smart thermostat work during a power outage?
Nearly all smart thermostats require power. During outages, they can become inoperable. A simple manual override might still be possible depending on your setup.