
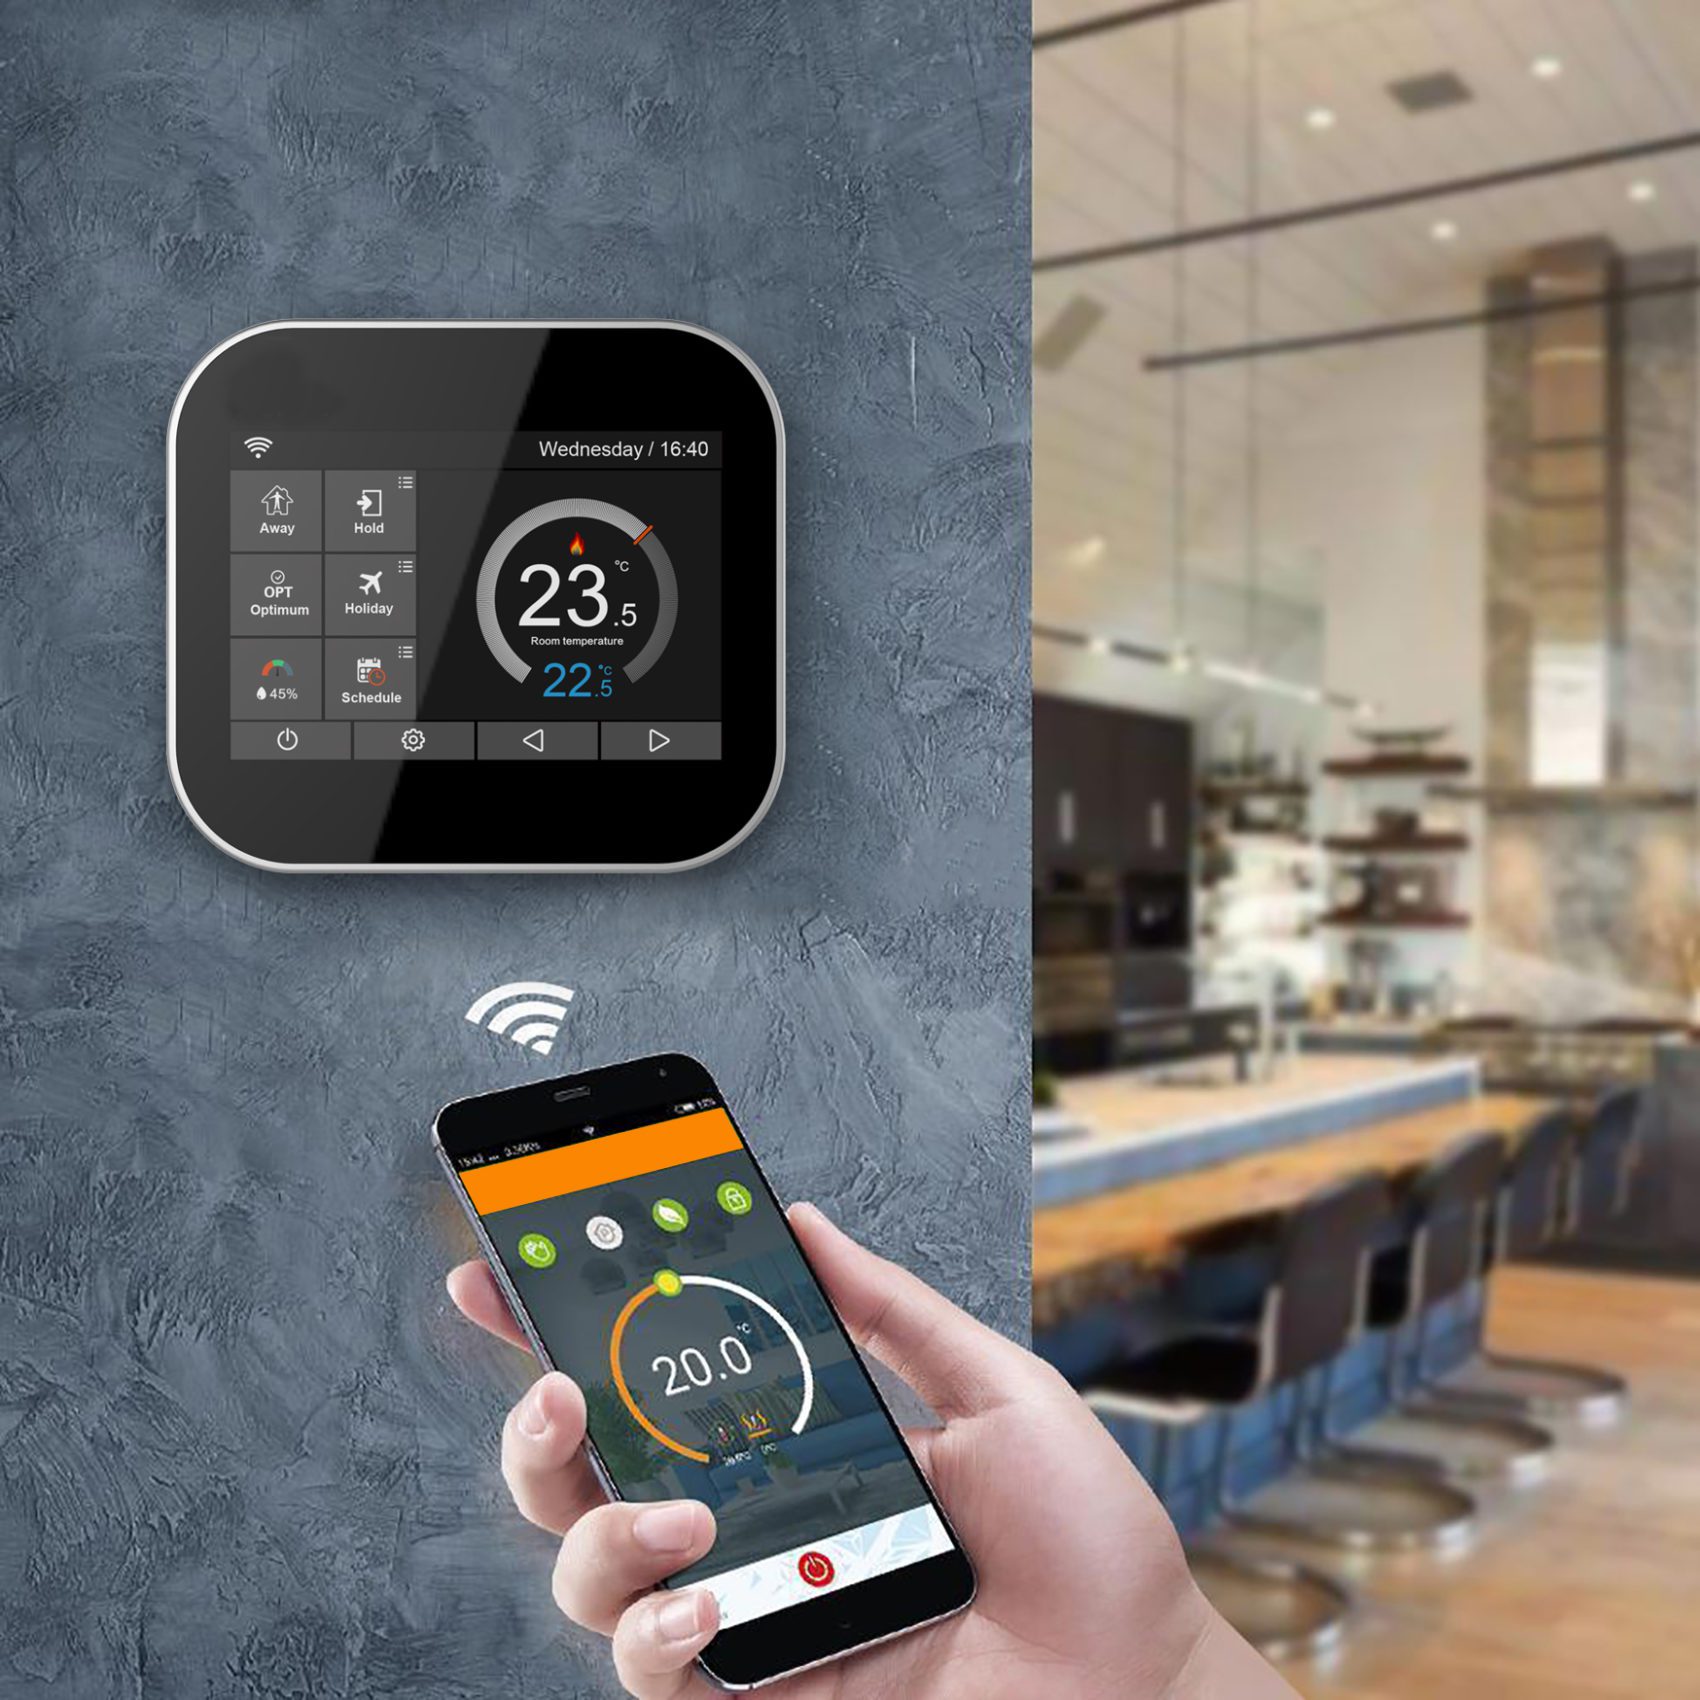

Key Takeaways
- Check compatibility and collect tools ahead of time to prevent wiring errors and stalled installations. Consult manufacturer compatibility tools and keep a Phillips screwdriver, wire stripper, extra screws, jumper wires, and smartphone handy.
- Nevermind, turn off power at the breaker and use a voltage tester before touching wires. Then label and photo existing wiring to make reconnection easy and less error-prone.
- Label each wire and map them to new thermostat terminals. If there is a lack of a C wire, consider a power extender kit, an adapter, or running a dedicated C wire from the control board.
- Install your smart thermostat with this simple guide! Step-by-step mounting and wiring instructions, use a level for the backplate, secure connections, and tuck in excess wiring for a stable, functional install.
- Finalize initial setup by choosing your HVAC type, joining Wi-Fi, and pairing the companion app to allow remote access, schedules, and smart home integrations.
- Track HVAC health and leverage app data and diagnostics to detect problems early. Automate schedules for energy savings and access troubleshooting or support for stubborn errors.
A smart thermostat installation guide details how to swap out a traditional thermostat for a Wi‑Fi enabled version.
We talk tools, wiring checks, power options, and typical HVAC compatibility issues. It provides step by step tasks, safety notes, and simple scheduling and remote control configuration tips.
It even directs to irritation solutions for Wi‑Fi holes and power issues.
We’ll get a little nerdy at the end with a list of technical resources to push you further.
Pre-Installation Check
A pre-installation check makes sure the smart thermostat will work with your HVAC system, that you have the right tools and that safety and connectivity are squared away. Verify wiring, location, power status and firmware before you touch anything.
System Compatibility
Determine if your existing thermostat is high-voltage (120 V) or low-voltage. Most smart thermostats are designed for low-voltage (24 V) HVAC controls. Check the current thermostat wiring. Common (C) wire presence is often required for models like Nest, ecobee, and many Honeywell Home units.
Locate multistage furnaces, dual-fuel, or heat pumps. These systems use additional wires (W2, Y2, O/B) and might require unique manufacturer setup steps. Match your system with Nest’s, ecobee’s, or Honeywell Home’s online compatibility tools.
Check for proprietary equipment like 5-wire proprietary heat/cool boards on some older boilers. Check each terminal for tightness and wear. Loose screws or corroded wire ends cause faults. Make sure the Wi-Fi is strong where the thermostat will be located. A poor signal near the controls can prevent installation or cloud functionality.
Pre-Installation Check: Check for necessary firmware updates on your existing devices, as some thermostat makers require their most recent hub or app firmware to register a new thermostat.
Essential Tools
- Phillips screwdriver
- Flathead screwdriver
- Wire stripper and cutter
- Small level
- Voltage tester
- Extra screws and wall anchors
- Jumper wires (spare short thermostat leads)
- Labeling tape or masking tape and marker
- Smartphone or tablet with Wi‑Fi access
- Trim kit or backplate specific to the thermostat model
Have your model-specific backplate or trim kit on hand. It typically includes unit-specific mounting holes and cable passages. Keep a copy of the old thermostat’s wiring diagram and a photo of terminal labeling to expedite reconnection.
Let your phone follow video steps from the manufacturer during the install.
Safety First
Turn off power at the circuit breaker before you begin work. Wait a minute or two and flip it back on to discharge any residual power only when testing. Confirm no live voltage at the thermostat wires with a voltage tester before you touch terminals.
Don’t forget to wear insulated gloves to minimize shock potential and don’t short wires together with your metal tools. Mark each wire as you disconnect it and inspect all connections for tightness and wear or corrosion.
Mount your thermostat on an interior wall 1.5 meters (52–60 inches) from the floor and away from any windows, sunlight, vents, doors, or drafts. Mind all safety warnings in the installation manual and keep a wiring diagram close by to prevent errors.
The Installation Process
Installation Process It covers the steps and concrete checks involved in removing an old thermostat and installing a smart thermostat. Step through in order, use the mentioned tools, and verify compatibility prior to working. Installation takes around 45 minutes in typical homes and could take longer if you need a C-wire adapter or other parts.
1. Deactivate Power
Find your breaker panel and turn off the breaker for your HVAC unit. Make sure the thermostat display has gone dark. Do not continue while the unit is still powered.
Mark the breaker with some tape or a marker so anyone else in the house knows the system is down for work. Inform the family that the furnace or air conditioning is off so no one turns it back on while you’re working.
2. Remove Old Unit
Carefully pull off the old thermostat face plate. Some clip off and some are held in place with small screws. Snap a picture of the wiring and terminal configuration before you pull anything loose.
This is your go-to if labels go missing. Take off the base and set aside the mount screws. Keep junk out of the wall hole and check for damage that could prevent the new backplate seal.
3. Document Wiring
Create a vertical list of wire colors and the terminal letters they attach to – a basic table on paper works well. Take advantage of the wire labels that frequently accompany smart thermostats and label each conductor as you remove it.
Beside any unused or jumper wires, make a note. Cross-reference that list with the thermostat’s wiring diagram and compatibility checklist so you can map to the correct terminals. Homes without a dedicated common (C) wire will require either a C-wire adapter or a third-party “add-a-wire” device.
4. Mount New Plate
Position the new backplate over the wall opening and on the centerline of the wall. Utilize the built-in level or a small bubble level prior to marking drill sites. A 3/16” drill bit is often needed for pilot holes.
Attach the plate with screws and drywall plugs for a solid mounting. A hammer and pencil can assist with holes and anchors, but are not necessary. Ensure wire entrants are not pinched and are accessible.
5. Connect Wires
Insert each labeled wire into its corresponding terminal on the new base, securing them with terminal levers or screw contacts. Employ a wire stripper only if conductor ends require new exposure.
Cross-check each terminal with your wiring diagram. One wrong connection can keep the whole system from working. Carefully tuck any excess wire behind the plate so that it does not cause pressure on any of the terminals when the faceplate is secured.
6. Attach Faceplate
Snap or screw the thermostat faceplate onto the base and turn the power back on at the breaker. Verify the display turns on and the unit accepts input.
Follow the on-screen instructions to set up. If you get prompts saying missing power or errors, go back and double check the c-wire or adapter.
Decoding Your Wires
Thermostat wiring maps control signals from the wall unit to the HVAC control board. Decoding your wires is important. Knowing what each conductor does, where it lands on the terminal block, and how many stages or fan speeds your system uses is key before swapping in a smart thermostat.
The C-Wire
- Look for a loose blue or brown conductor behind the thermostat that is unused. It could be a secret C wire!
- Always test for 24 VAC between R (or Rc/Rh) and the suspected C conductor with a multimeter before assuming it is live.
- Install a power extender kit (PEK) provided by certain manufacturers instead of installing a new C wire.
- If possible, run a new 18 gauge solid core wire from the furnace control board C terminal to the thermostat.
- If there is no board access, employ a common wire adapter or an external 24 VAC plug-in transformer.
The C wire provides that constant 24 VAC power required by many smart units such as ecobee and Nest. Without it, the thermostat could pull power sporadically from the R and W wires, resulting in short-cycling, erratic performance, or battery drainage.
On the thermostat base, the C terminal is typically marked C. On the furnace control board, it will be the common side of the 24 VAC transformer, typically labeled C or COM. Make sure both ends are visually inspected and tested for voltage before you go.
Wire Functions
W – Heat stage 1 call, closes to R to begin heating. G – Fan relay, turns blower on regardless of heat or cool. Y – Cooling compressor stage 1, powers the outdoor unit contactor. Rh / Rc – 24 VAC from heating or cooling transformer, some systems have a single R jumper between Rh and Rc. C – Common side of the 24 VAC transformer, closes the power circuit.
Refer to a basic customized wiring diagram if you have more than one compressor or multiple stages. Draw the control board, label each terminal, and trace each colored conductor back to its terminal.
For multistage systems, include Y1, Y2, W1, W2, and any G1 to G3 fan speed terminals. Using tape to label wires at both ends accelerates debugging and prevents miswires.
The wrong wires can short transformers, blow fuses, or not power components. If you have A, B, C or 1, 2, 3 terminals, it probably requires a communicating thermostat. G1 to G3 means it controls multi-speed fans.
Standard installs have 5 wires; you can sometimes find 2 to 10. Try to use 18 gauge solid core wire whenever possible.
No C-Wire
If no C wire is present, apply a PEK, a common-wire adapter, or run a new 18-gauge line to the control board. Follow manufacturer steps: power down the system, attach adapter wires to R and the thermostat terminal labeled C or COM on the board, then restore power and test for steady 24 VAC.
Certain adapters may necessitate configuring jumpers on the furnace board; check the unit schematic. Anticipate feature caps such as dimmed screen brightness or frozen updates with no real C.
Initial Setup
Initial setup configures the thermostat for precise control and remote access. After following on-screen prompts to set language and location, confirm basic settings for temperature units and time.
Turn off the HVAC at the breaker before touching wiring to prevent blowing a fuse. Have a drill, flathead, and Phillips screwdriver handy. Label wires as you take out the old stat and snap pictures of the old wiring for future reference.
The app provides homeowner-friendly step-by-step instructions that anyone can follow to complete the wiring and mounting in around 20 to 30 minutes.
System Configuration
Select the HVAC system type shown by the app: single-stage furnace or air conditioner, multistage systems, or heat pump. Align each thermostat terminal with your labeled wires.
Secure the base to the wall and feed wires through the hole so they rest flat prior to hooking up. Configure advanced options like fan control (auto versus on), stage control for multistage heat/cool, and energy-saving modes that prevent wild setpoint choices.
Set initial comfort preferences on the main temperature screen: day/night setpoints, setback ranges, and minimum run times for compressors to protect equipment. Save configuration changes, restore power, and test system response by raising and lowering setpoints while watching relays click and HVAC cycles start.
If the system does not respond, recheck terminal assignments and wiring labels.
Network Connection
Join your home Wi‑Fi from the thermostat screen or in the companion app. For initial setup, enter the network name and password carefully. A wrong character is the most frequent cause of failure.
Establish connection when your device displays software update prompts or a cloud icon in-app. If the signal is weak, bring the router closer temporarily or use a mobile hotspot just to complete initial setup.
Then, talk about a Wi‑Fi extender. For stubborn issues, confirm it is on 2.4 GHz if the thermostat demands it and that there is no captive portal or enterprise network blocking consumer devices.
App Integration
- Open the manufacturer app and set up or sign into your account.
- Tap Add Device and use the in-app pairing code or QR scan to pair.
- Verify thermostat ID and add the device to a home or room.
- Grant location and notification permissions as prompted.
- Link voice assistants or smart home hubs if desired by following each platform’s prompts.
Pair the thermostat with your account and take full remote control. Set up integrations like Amazon Alexa or Google Assistant and try out voice commands.
Use the app to program schedules, notifications, and temperature routines, and get alerts for filter changes or extreme temperatures. If any wiring or configuration is still unclear, consult a professional to ensure safety and correct operation.
Beyond The Manual
Smart thermostats are about more than just changing your temperature. Advanced features, mobile guides and routine updates add functionality and lower long-term costs. This part dissects what to follow post-installation, how to leverage data to inform decisions, and when to consult an expert.
HVAC Health
Keep an eye on system performance and receive alerts for maintenance or filter changes, preventing unexpected breakdowns. A few thermostats blast warnings when airflow dips or a filter should be changed. Identify early warning signs of problems, such as odd cycles, unexpected bursts of energy, or recurring fault codes, before they turn into expensive repairs.
Employ data to monitor energy consumption and identify efficiency improvements. Daily and weekly reads demonstrate how runtime varies with weather or occupancy. Set up routine HVAC checkups to extend its life. A technician can examine refrigerant, motors and ducts, as well as verify thermostat wiring and calibration.

Hardware failure messages on the screen may indicate radar failure, temperature or humidity sensor failure or backlight failure. Log these messages and share them with a service provider. Simple fixes often help: tapping the display can wake a dark screen. If the motion-detected wake sensor behaves strangely, step away for a minimum of 5 minutes and allow it to recalibrate.
Metal can block signals between the thermostat and display, so see if moving the display or the wall unit helps. A wire stripper comes in handy when you want to clean up or lengthen wires during installation or fixes.
True Automation
Automate temperature changes based on occupancy, weather, or time to ease manual labor and conserve energy. Geofencing uses your phone’s location to automatically switch to a different mode when you leave or return. Adaptive scheduling learns your patterns over a few days and adjusts setpoints to balance comfort and savings.
Go beyond the manual and integrate your thermostat with lights, blinds and occupancy sensors for effortless control. Automatically bring down the heat if a window is open or pause HVAC for deep-clean cycles. Switch hands-free with voice commands and app controls.
If you lock the thermostat and require manual override, press and hold the lock icon on the screen for 10 seconds to remove it. Installation usually requires around 45 minutes. Mobile installation guides and need-to-know videos are embedded in apps and vendor sites. Consult them when you’re wiring or mounting.
If issues persist, troubleshooting beyond the manual, such as comparing logs, checking connections, or exchanging components, usually identifies the culprit.
Data Insights
| Metric | What it shows | Use |
|---|---|---|
| Daily runtime (hours) | HVAC on-time per day | Find wasteful schedules |
| Peak energy (kWh) | Highest hourly use | Shift loads to off-peak |
| Temperature delta (°C) | Inside vs setpoint | Diagnose sensor drift |
| Occupancy events | Motion or geofence hits | Refine automation rules |
Discover insights and tune optimizations for more savings. Create seasonal reports for a year-over-year comparison and establish achievable energy goals you can monitor.
Common Hurdles
Common Hurdles Smart thermostat install seems simple, but installers encounter a group of predictable issues that stall or prevent completion. Here are the common hurdles, why they occur, where they occur in the process, and how to overcome them with concrete, actionable steps and examples.
No Power
I might check the breaker first. A half-switched breaker or one that looks on but isn’t feeding power is common. Clearly label the proper breaker so it’s not flipped in testing. High-voltage systems, such as 120 V or L1/L2 contacts, don’t work with many smart thermostats. Check compatibility before you get near wiring.
Double-check wire connections at the thermostat base next. Loose wires, unstripped ends or stranded wire that doesn’t get pushed down can leave the screen blank. If your original thermostat was wired with few wires, you might be without a C wire. Adding a common wire adapter or employing a power adapter kit keeps the 24 V flowing steadily.
Check the HVAC unit’s electrical control box for blown fuses or tripped breakers and replace fuses with a similar rating. If the display remains dark, reset by taking the thermostat off its back plate and putting it back on after 30 seconds. If it is stubborn no power, test the 24 V output with a multimeter at the furnace control board.
If you are unsure, have customer support contact info handy. The manufacturer can confirm if a particular model is compatible with your system voltage.
Wi‑Fi Issues
Install the thermostat 1.2 to 1.8 meters (4 to 6 feet) above the floor and away from any direct obstructions, as location impacts signal and temperature readings. Relocate the router or install a Wi-Fi extender in case of weak signal. Users frequently enter network credentials incorrectly or select the incorrect band.
Ensure that the thermostat can connect to the selected 2.4 GHz or 5 GHz frequency as needed. Try rebooting the router and the thermostat to reset any temporary problems. Firmware updates often patch known connectivity bugs, so update the thermostat when you can.
If setup modes time out, which is a frequent frustration, simply yank the unit from its plate and reattempt, or finish setup via the companion app if possible. Patience assists, retyping credentials slowly and double-checking characters eliminates mistakes.
System Errors
SCAN ERROR CODES – When flashing up on-screen, error codes are like a diagnosis. They indicate a category of fault, such as shorted wires or sensor malfunctions. Make sure that the terminal labels on the furnace correspond with those on the thermostat’s wiring diagram and that contacts are clean.
If errors still persist after verifying wiring and label assignments, reset the thermostat to factory defaults and restart the setup process. If you have limited wiring, you might need adapters or a pro to come and install a C wire.
Other mistakes arise from different types of HVAC controls. Reach out to your manufacturer for model-specific instructions. Troubleshooting is time consuming. Schedule incremental testing and patience to adjust settings and schedules for best performance.
Conclusion
Smart thermostat install demystified in our guide. Walk through the pre-check list, wire match, and install steps. Setup in app to schedule temperatures and connect to your home network. Experiment with easy scenes, such as a night setback or a weekday wake up, to conserve energy and remain cozy. If a wire looks funny, label it and take a photo before fiddling with it. If you run into trouble, check power at the breaker, look for a missing C wire, or rely on the thermostat help docs and quick video fixes.
Select a silent hour on the weekend, grab a ladder, screwdriver, and hammer for the task. You ready? Walk through our easy-to-follow, step-by-step installation and set one smart routine tonight.
Frequently Asked Questions
What tools do I need for a smart thermostat installation?
You’ll want a screwdriver set, wire stripper, drill (if mounting), a voltage tester, and your smartphone. A level and the thermostat’s mounting plate are typically included. These bits handle the majority of installations securely and efficiently.
How do I know if my HVAC system is compatible?
Look for a C wire at the control board or thermostat. Almost all modern smart thermostats need a C wire. Check your thermostat’s compatibility checker or your HVAC manual for confirmed compatibility.
Can I install a smart thermostat myself or should I hire a pro?
Most homeowners can install it themselves in 30 to 90 minutes. Call a licensed HVAC technician if wiring is confusing, your system employs high-voltage wiring, or you desire warranty-backed installation.
What safety steps should I take before starting?
Shut off power at the circuit breaker and verify that power is off using a voltage tester. Label wires prior to disconnecting. Safety prevents you from frying your HVAC system and burning yourself.
How do I identify thermostat wires by color?
Common wire colors: Red (R) is power, White (W) is heat call, Yellow (Y) is cooling, Green (G) is fan, Blue/Black (C) is common. Colors may differ. Sign and confirm function at the control board before connecting.
What if my system lacks a C wire?
Use a supplied adapter, a C-wire kit, or a compatible power stealing thermostat. Installers can pull a dedicated C wire from the furnace or air handler if necessary.
What should I do after physical installation?
Power on, walk through the thermostat’s on-screen setup, connect to Wi-Fi and perform the fusion or system test. Update firmware and set energy-saving schedules for instant savings and comfort.